
How to install Windows Server Core 2022
August 18, 2021
How to install Windows Server Core 2022
Let's consider installing a server without a graphical interface and its initial configuration.
Click on the “Next” button.

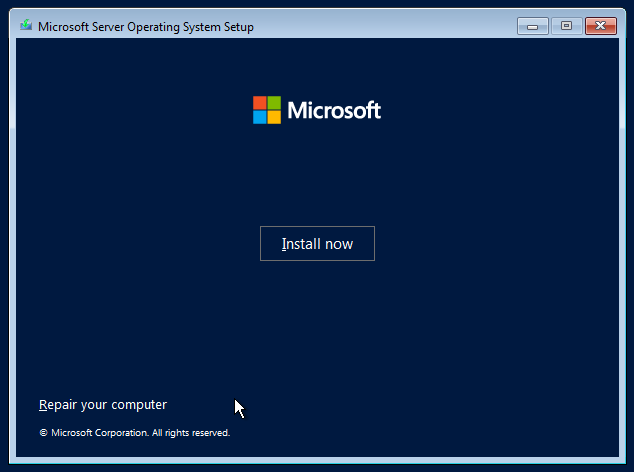
Click “Install now”.
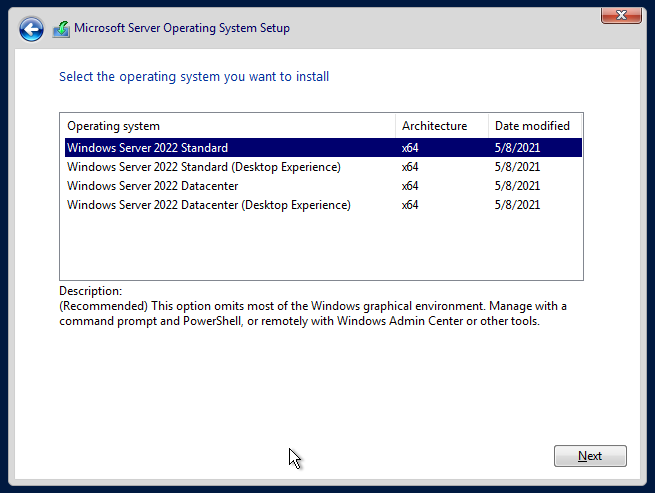
If you want to install Windows Server 2022 in Server Core mode (no GUI), then you need to select “Windows Server 2022 Standard” or “Windows Server 2022 Datacenter”.
This section covers the installation of Windows Server 2022 Standard. Select “Windows Server 2022 Standard” and click “Next”.
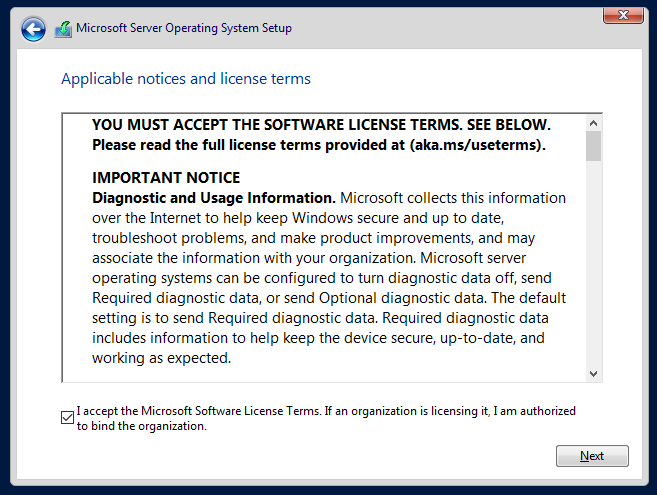
We accept the terms of the license:
There are two installation options:
- Upgrade: upgrade an existing OS. Available only if you already have a previous version of the server installed. Many people do not recommend this option, as it often brings stability problems.
- Custom: Fresh OS installation. We will choose this option, since we are doing the installation on a blank disk.

Now you need to select the drive to install. If you have multiple disks or multiple partitions on the same disk, then you need to be careful and choose carefully so as not to accidentally erase a disk or partition that you did not plan to clean up.

In my case, there is only one blank disk, so I just click the “Next” button.
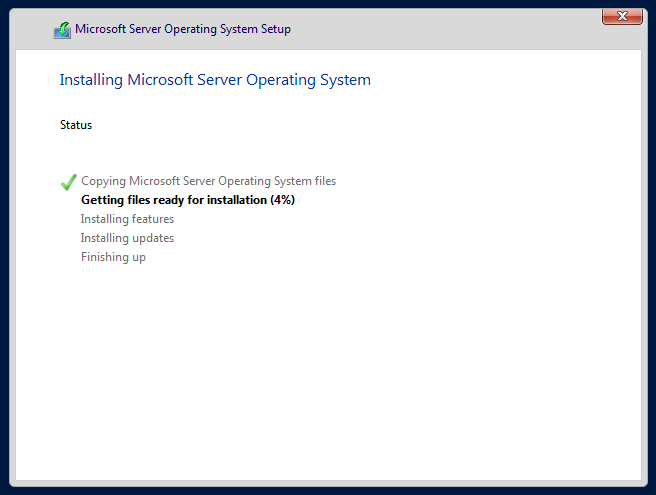
We are waiting for the completion of the installation process.
As with the desktop version, you need to set an administrator password:
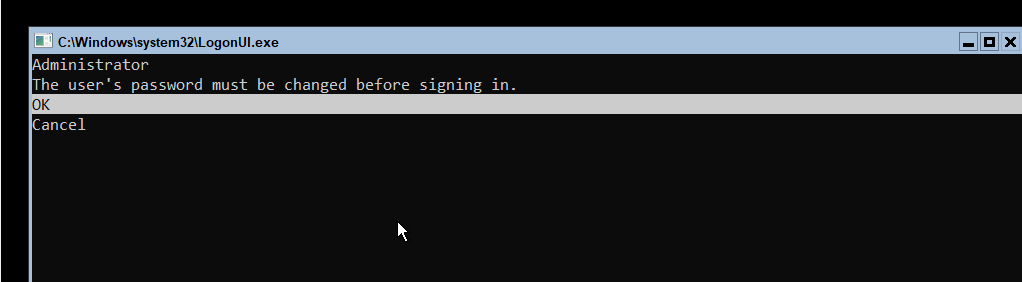
Enter and remember the server administrator password twice. Use the Tab key to switch between lines:

When you enter your password and confirmation, press Enter.
The system reports that the password has been successfully changed.

The SConfig utility runs every time the server boots.
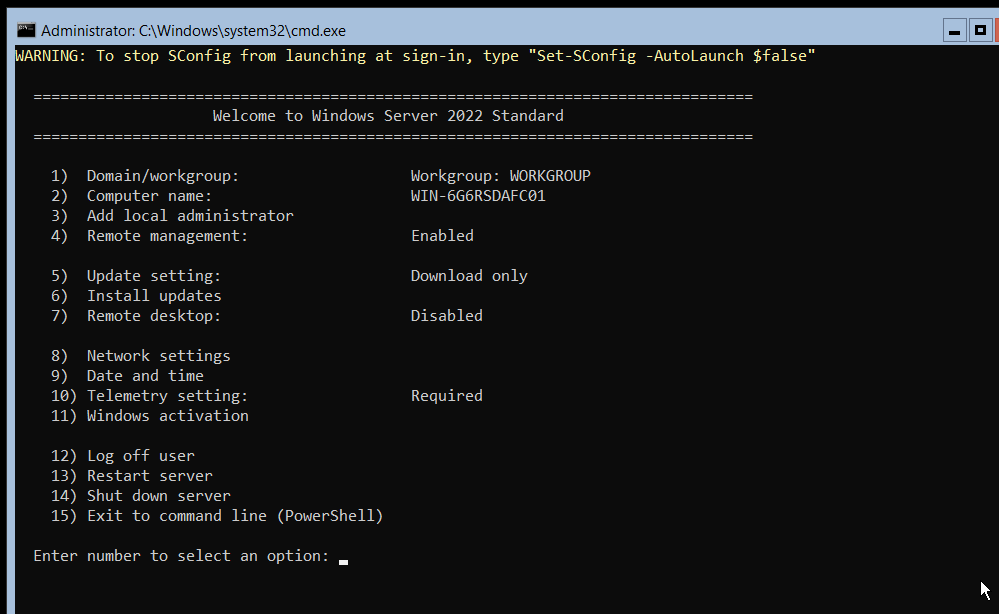
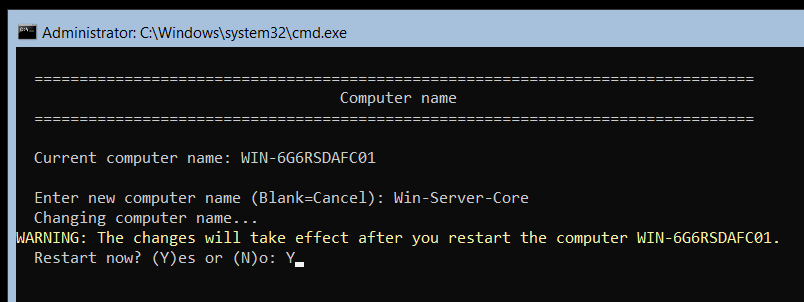
Through SConfig, you can configure the network and other properties of the system, but we will not dwell on this, since we will perform all these settings in a more convenient way. We will only change the name of the computer, from automatically generated to more informative.
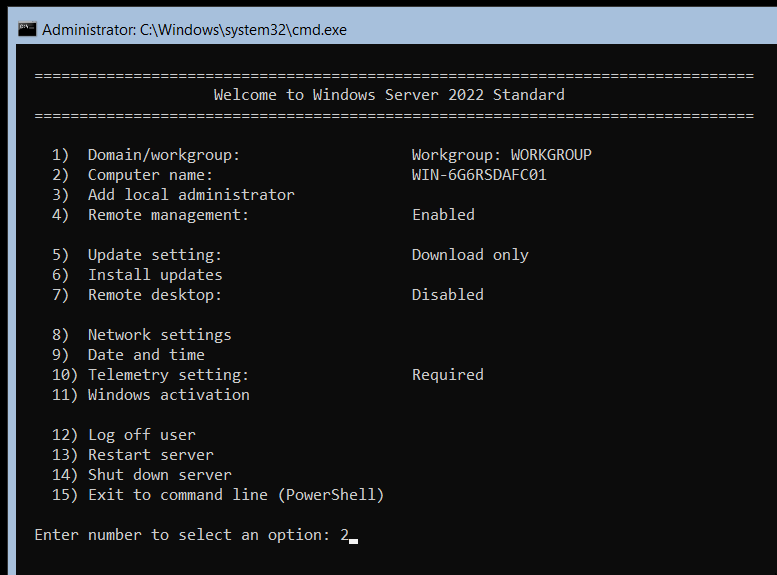
To change the computer name, at the “Enter number to select an option:” prompt, enter number 2.
Enter the new computer name:
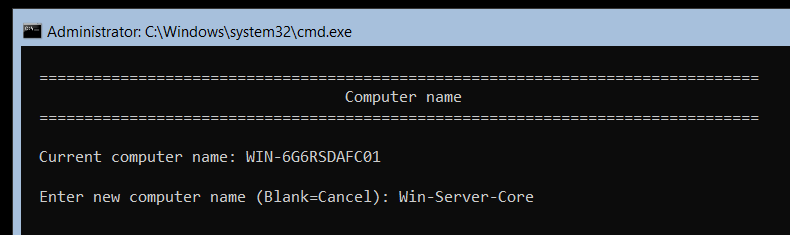
We are informed that the new name will be applied after restarting the computer. To restart your computer right now, type «Y» and press Enter.
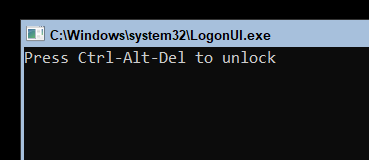
Press Ctrl+Alt+Delete to unlock:
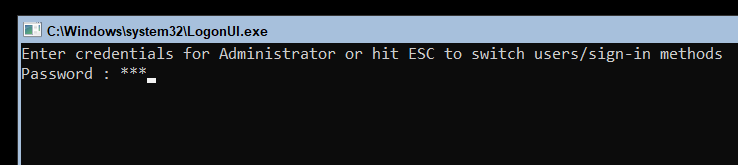
Enter admin password:
When you turn on the server, SConfig will start again, if you want to disable SConfig autoloading at login, select option “15) Exit to command line (PowerShell)” from the menu and run the command in the command line:
Set-SConfig -AutoLaunch $false
The next part will discuss how to configure servers. We will not dwell in more detail on configuring Windows Server without a graphical interface in the command line, since the configuration can be done in a convenient web interface.
If you are unable to connect to the server from another computer, then the configuration can be done using PowerShell – this will also be discussed in the next part.
See also: Active Directory comprehensive guide, from installation and configuration to security auditing
Related articles:
- What is Windows Admin Center and do regular users need it? (100%)
- How to install Windows Server (Desktop Experience) 2022 (100%)
- Demote Domain Controllers in Windows Server in PowerShell and GUI (77.3%)
- How to install the Active Directory PowerShell module on Windows Server, Windows 11 and Windows 10 (77.3%)
- How to disable dash replacement in WordPress. AutoCorrect settings for characters and words in WordPress (50%)
- How to prevent Tor users from viewing or commenting on a WordPress site (RANDOM - 50%)