
How to install Kali Linux with encrypted user’s home folder (manual partitioning)
November 14, 2021
If the above automatic disk layout template with encryption of the home folder does not suit you, then you can configure disk layout manually, below is shown how to do it.
With manual marking, remember that for a normal installation you need at least two partitions:
- EFI – 200 Megabytes is enough
- / (root of the filesystem) – this is where the OS is installed. If there are no other partitions, then user files will be stored here.
In this example, in addition to the two necessary ones, we will create another partition and encrypt it, this partition will be mounted on the /home path.
Go to the page https://www.kali.org/get-kali/, in the Bare Metal section download the installation image.
Using a cross-platform program, Etcher writes an image to a USB flash drive.
Let's dwell directly on the disk layout, since the rest of the installation steps are identical.
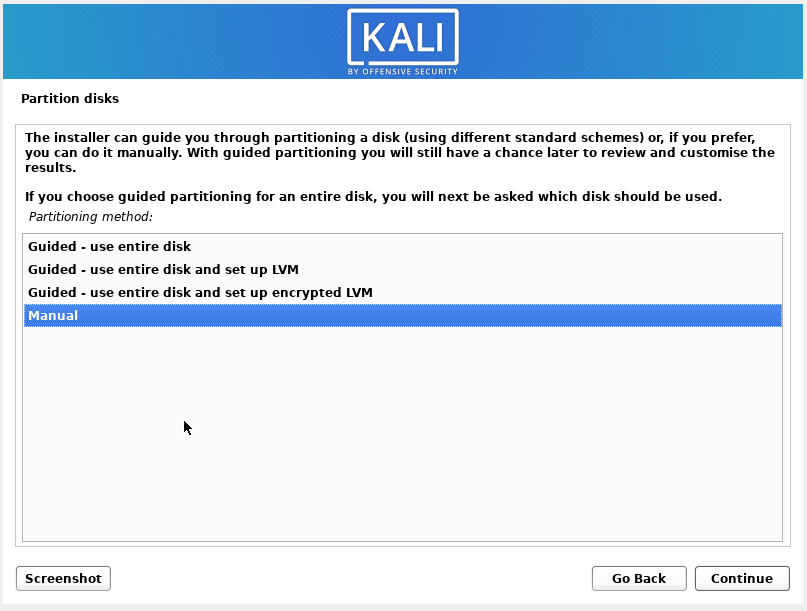
When you come to the disk partitioning, then select “Manual”.
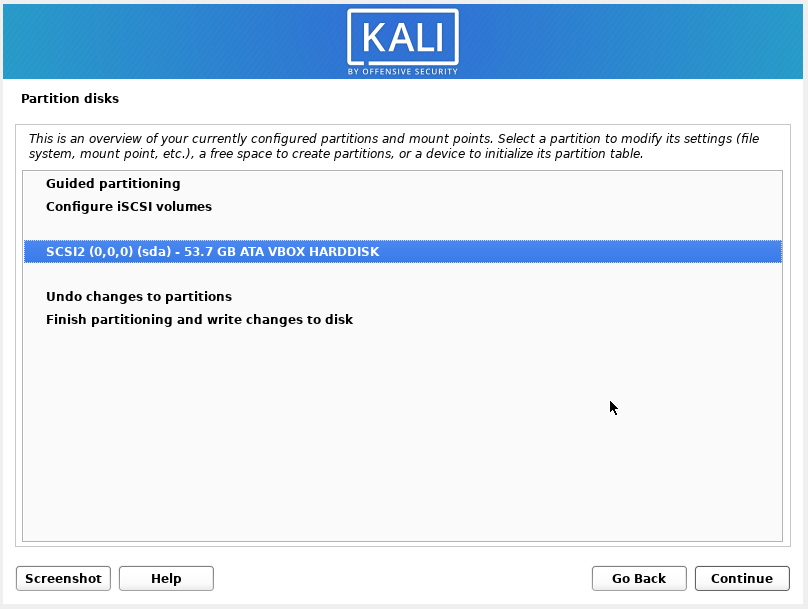
Select the drive where the system will be installed.
There is no partition table on the media, we agree to create it, that is, select “Yes”.

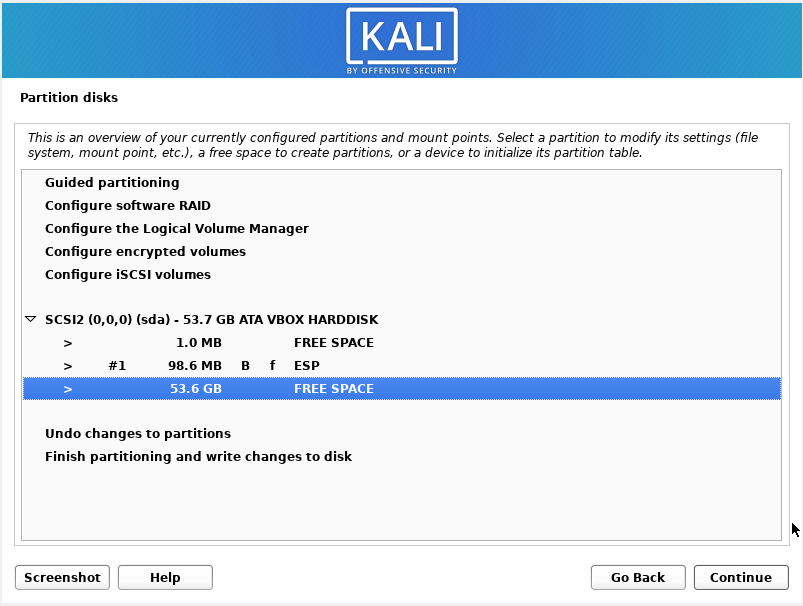
We select an unoccupied area (“FREE SPACE”).
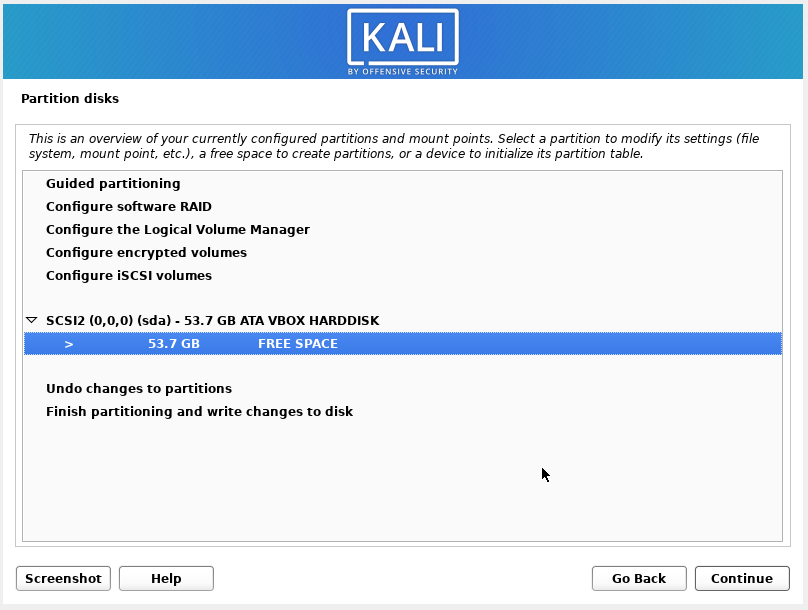
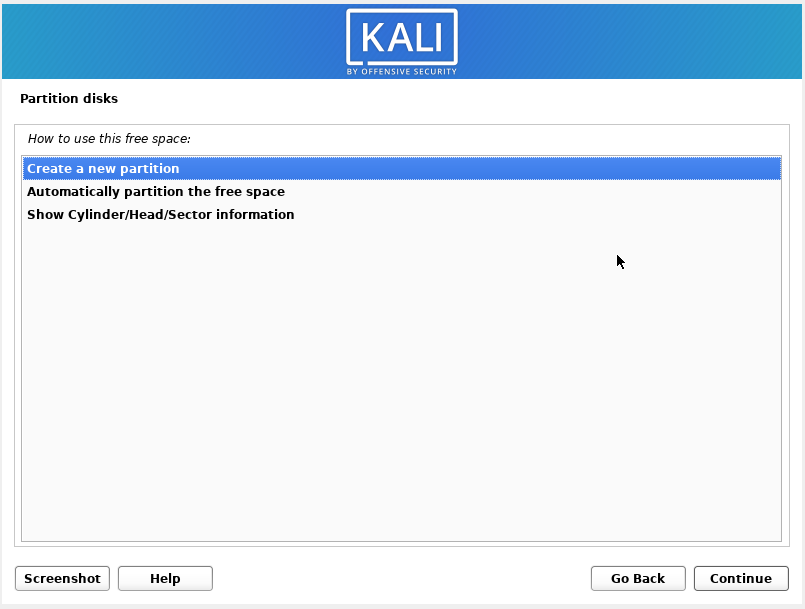
Select “Create a new partition”.

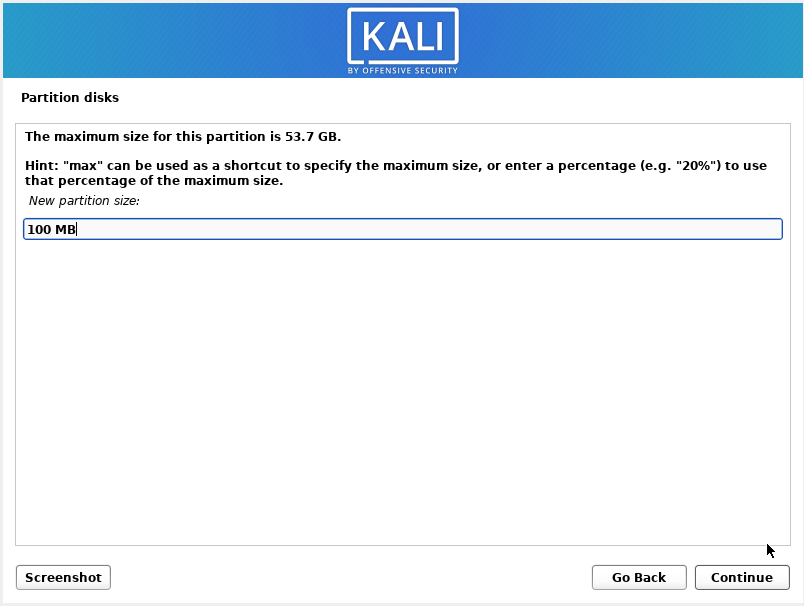
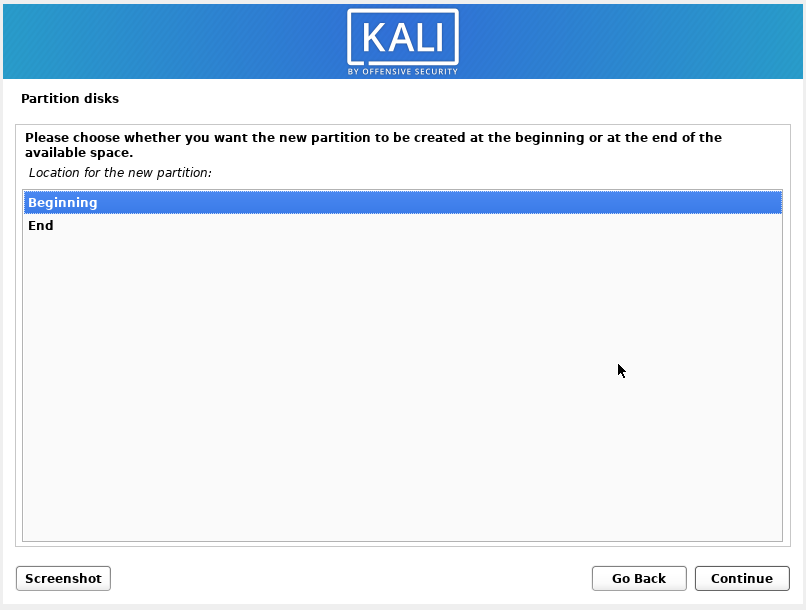
The first partition will be EFI, 100-200 Megabytes are enough for it, allocate 200 Megabytes with a margin.
Choose “Beginning”.

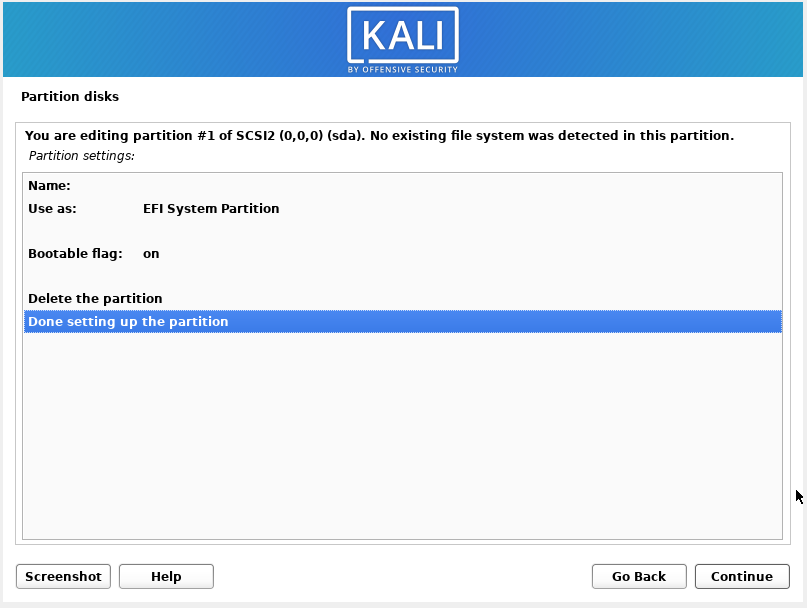
In the “Use as” field, select “EFI System Partition”. Then click “Done setting up the partition”.
Select “FREE SPACE” again.
Choose “Create a new partition”.
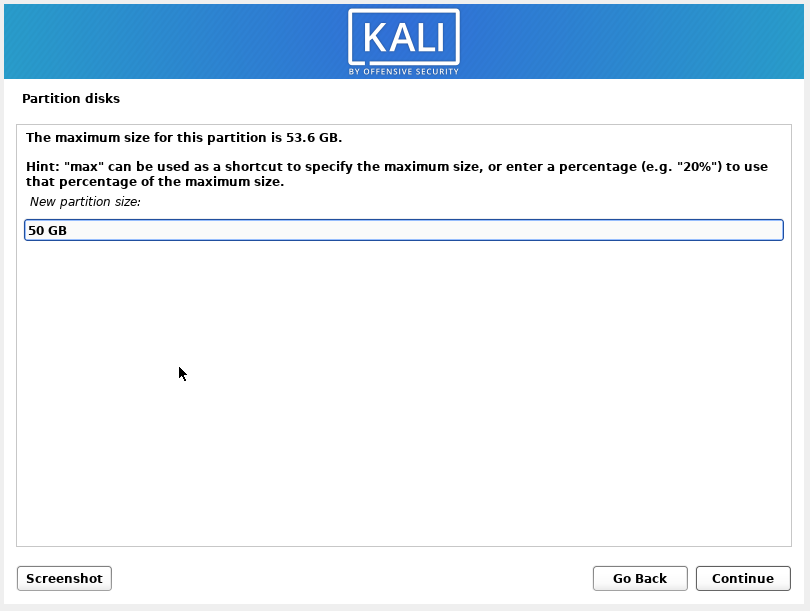
Select the size of the partition. This partition will be the root one, OS files will be installed on it and programs will be installed here. It is not recommended to make this partition less than 20 Gigabytes.
We choose “Beginning”.
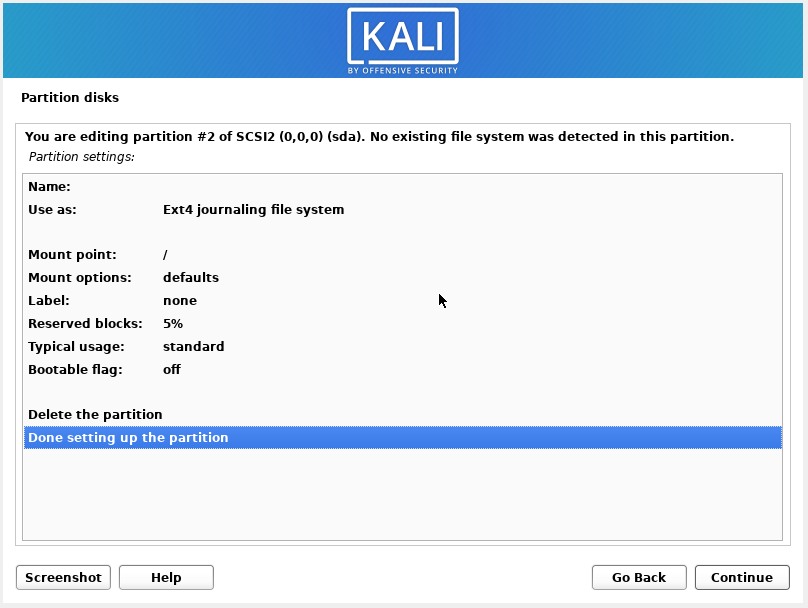
In the “Use as” field, select “Ext4 journaling file system”. Select “/” for “Mount point”. Then click “Done setting up the partition”.
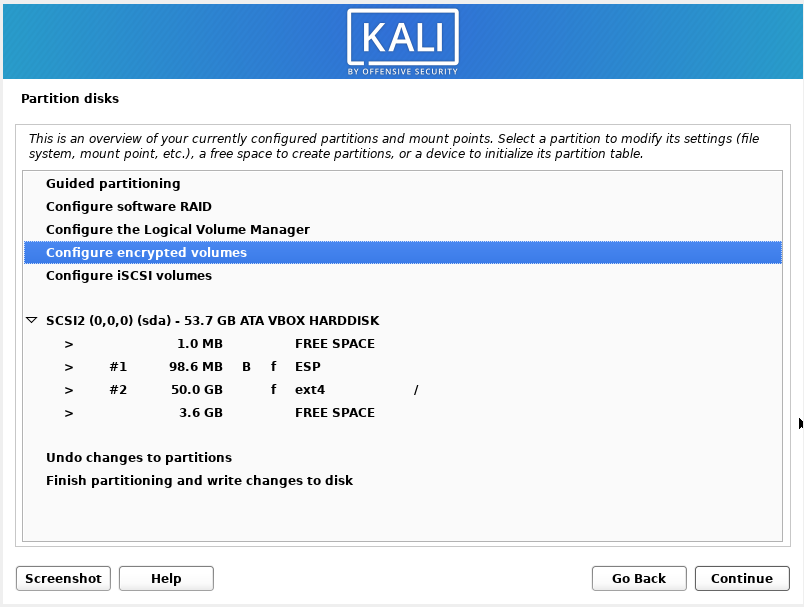
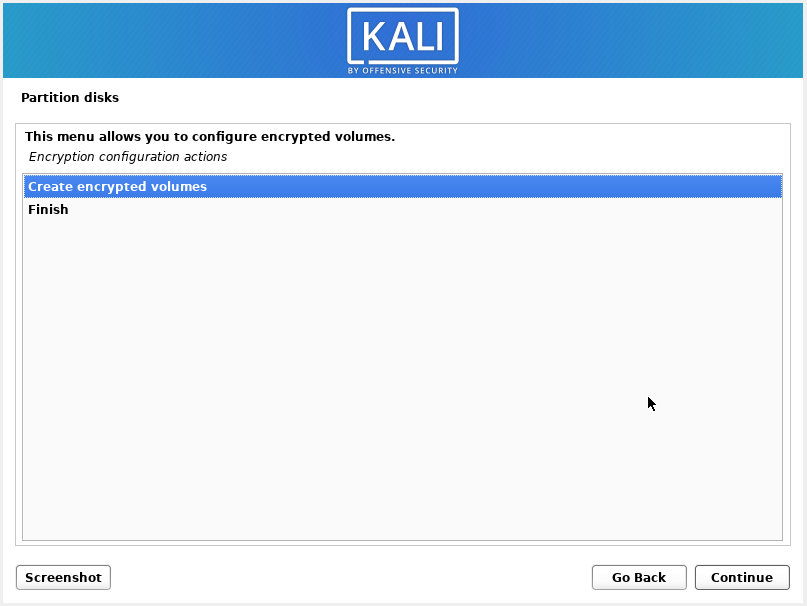
Now let's move on to creating an encrypted partition. Select “Configure Encrypted Volumes”.
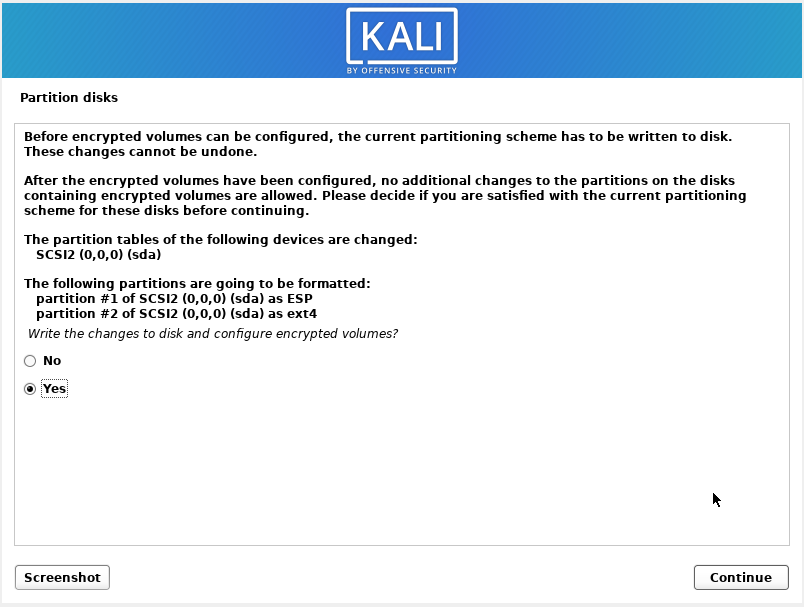
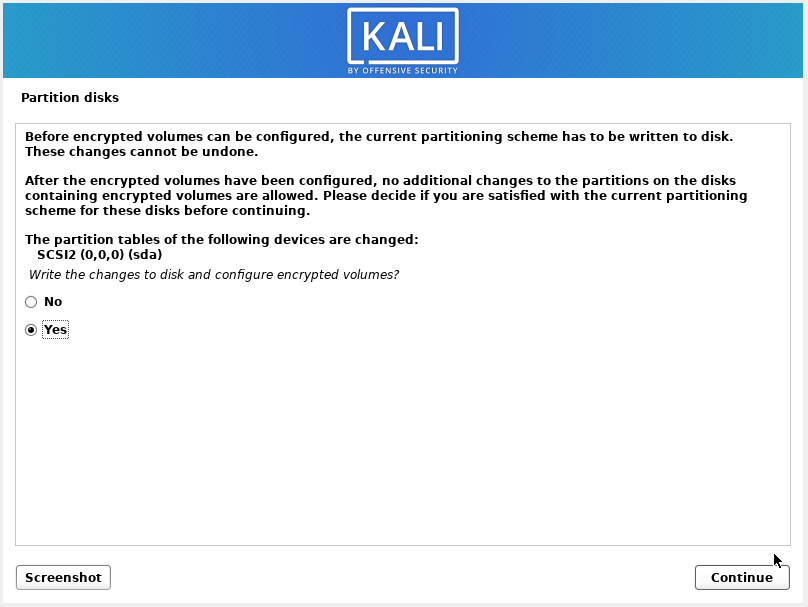
We are warned that in order to start creating an encrypted one, the current partition scheme (the two partitions that we have just created) must be written to the disk – these changes cannot be reversed. Select “Yes”.
Choose “Create encrypted volume”.
We choose where exactly this partition will be placed. Be especially careful if you have multiple drives. In the screenshot, the free space of the only disk is selected. But if you do not want to use all the free space, then first create a partition of the desired size and select it here. For this partition, in the “Use as” field, select “not use”.

We select “Done setting up the partition”.

Again, you need to save the current partitioning scheme to disk. Select “Yes”.
I only need one partition, so I choose “Finish”.

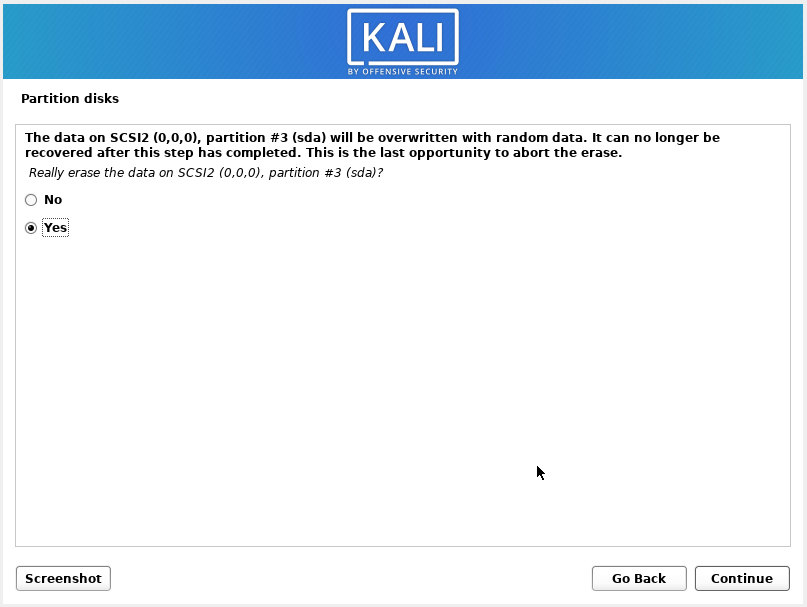
We are warned that the selected partition will be overwritten with random data and information from it will be lost. If everything is alright, then select “Yes”.
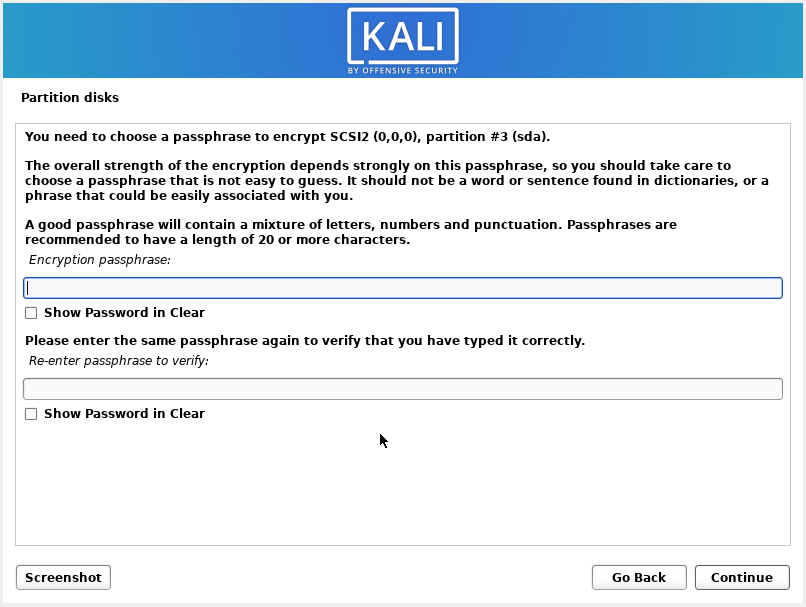
Enter the password to decrypt the partition.
So far we have only created an encrypted partition that has no volumes or mount points. This is all configurable in LVM.
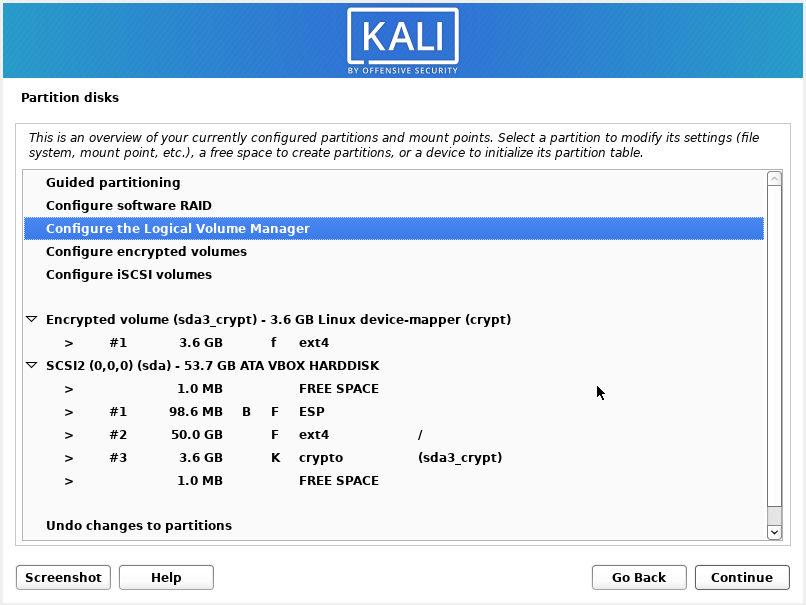
Go to “Configure the Logical Volume Manager”.
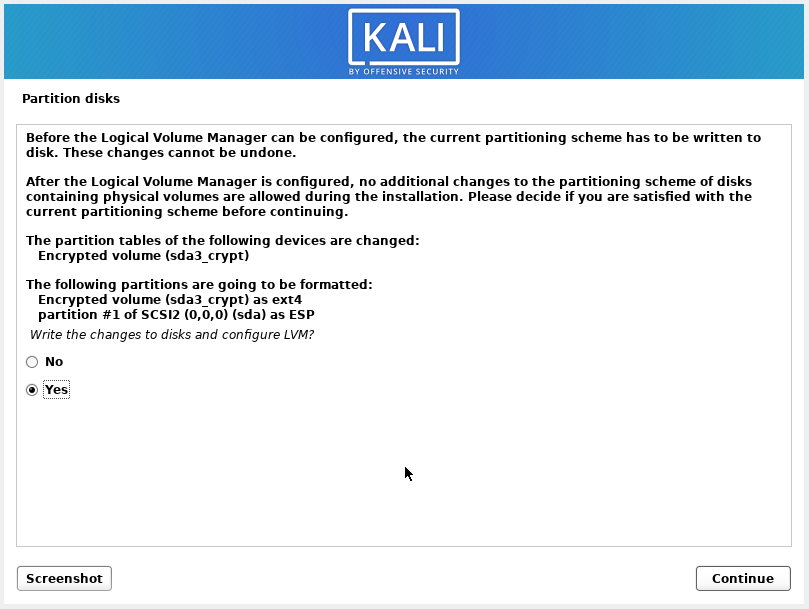
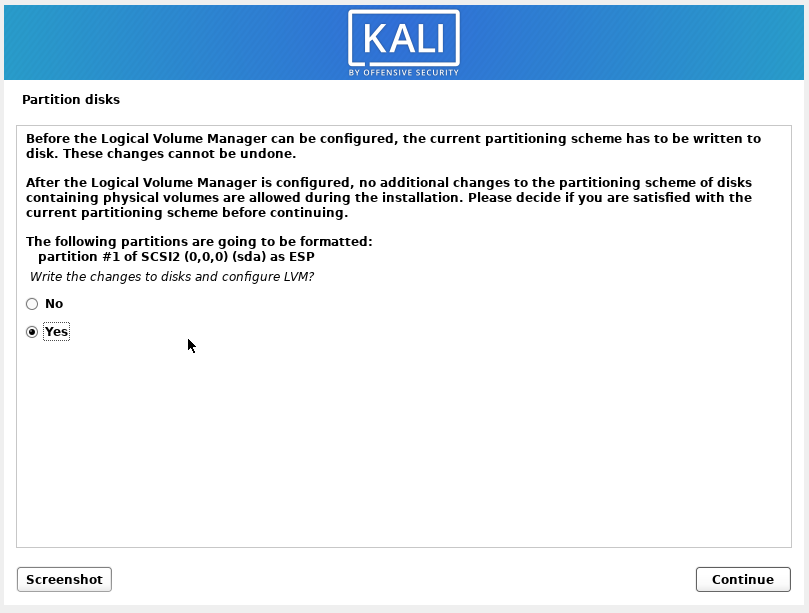
Again, you need to write down the current partition scheme, again “Yes”.
Quite a bit of theory:
LVM manages three concepts:
- Volume groups
- Physical volumes
- Logical volumes
A volume group is a named collection of physical and logical volumes. Typical systems only need one volume group to contain all the physical and logical volumes on the system, and I like to call my group by the name of the machine. Physical volumes correspond to disks; they are block devices that provide storage space for logical volumes. Logical volumes correspond to partitions: they contain the file system. However, unlike partitions, logical volumes are named, not numbers, they can span multiple disks, and do not have to be physically contiguous.
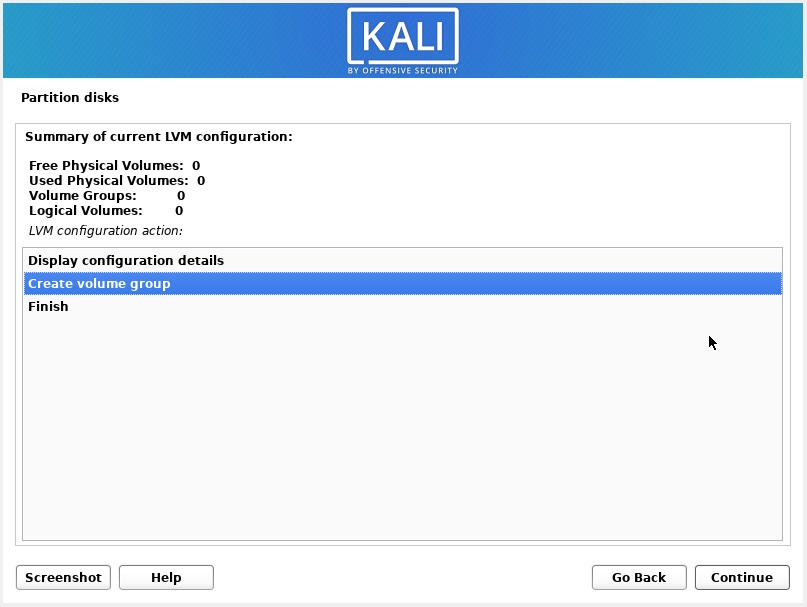
In this step we are creating a volume group, select “Create volume group”.
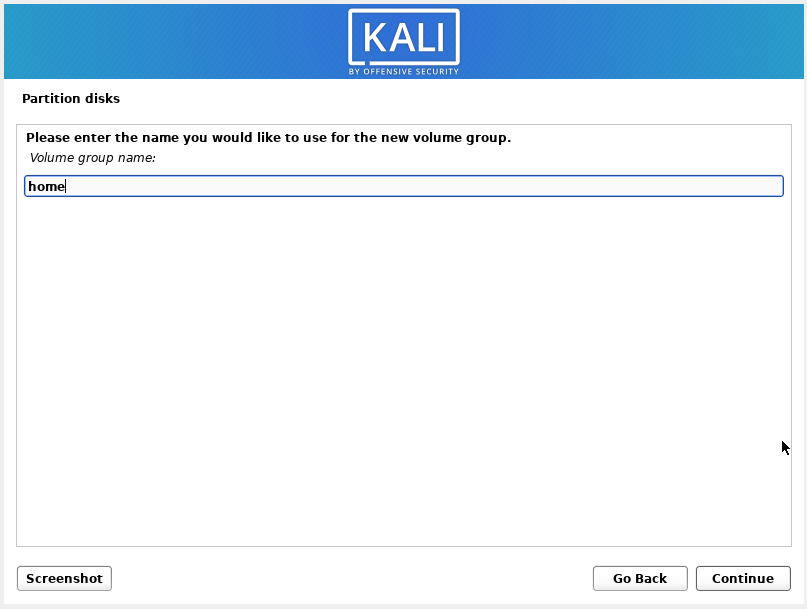
Come up with a name – you can use the name of your system, but I named it in accordance with the purpose.
Select the device for the new volume group. This device is the encrypted partition created in the previous step.

You need to write down the current partition scheme (“Yes”).
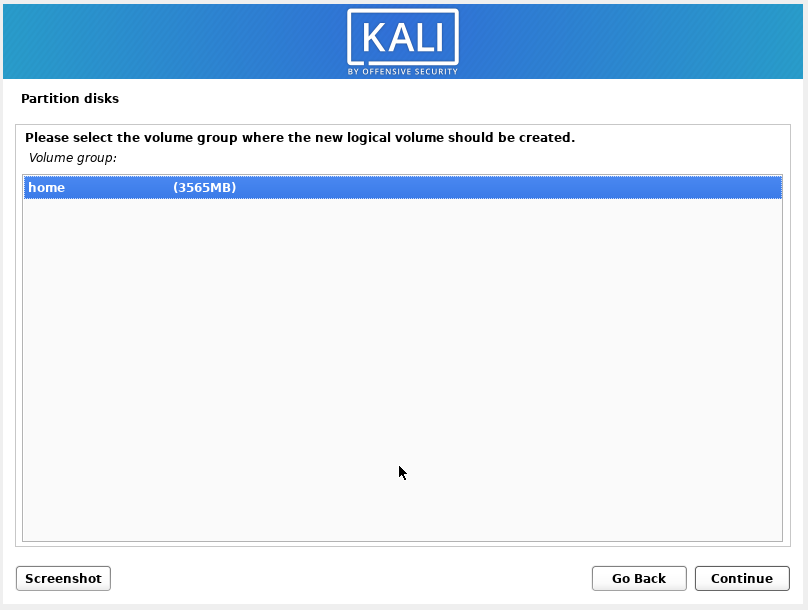
Now choose “Create logical volume”.

Choose a group – it is one.
Name the volume – the name can be arbitrary, but it is in your best interest to use meaningful name.

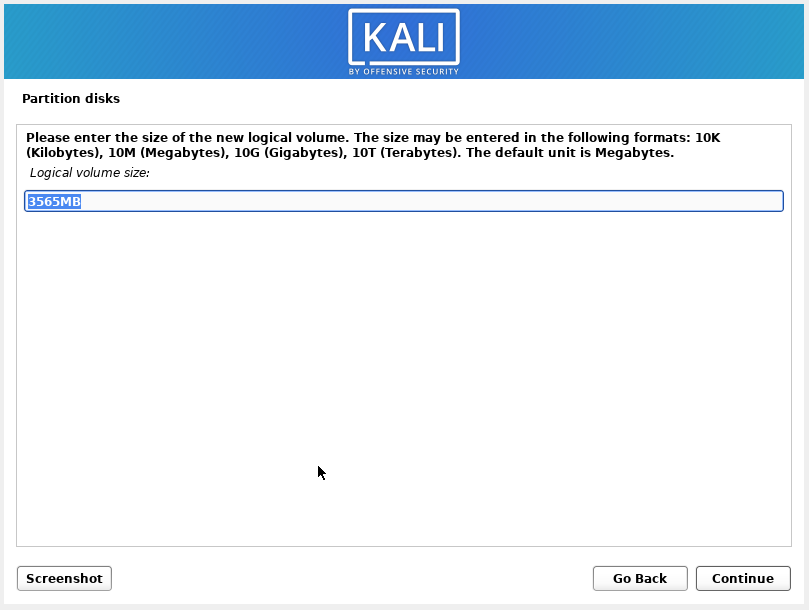
Specify the size of the volume.
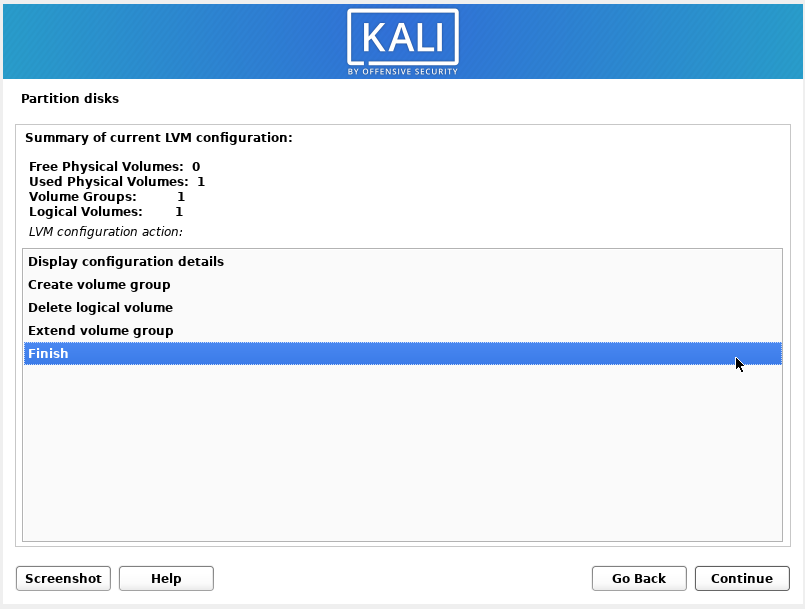
One volume is enough for me, so I choose “Finish”.
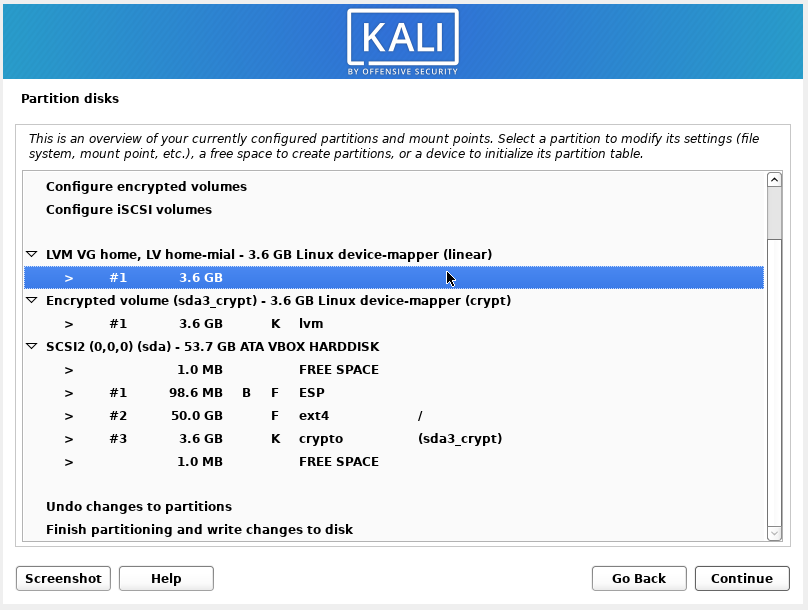
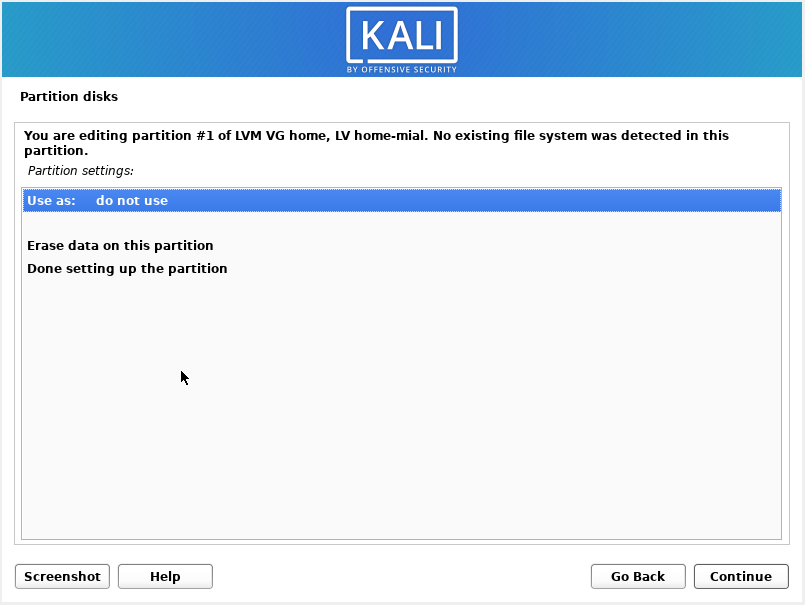
Now you can observe the created volume, but it is not used in any way and no file system is selected for it. Click on the volume record.
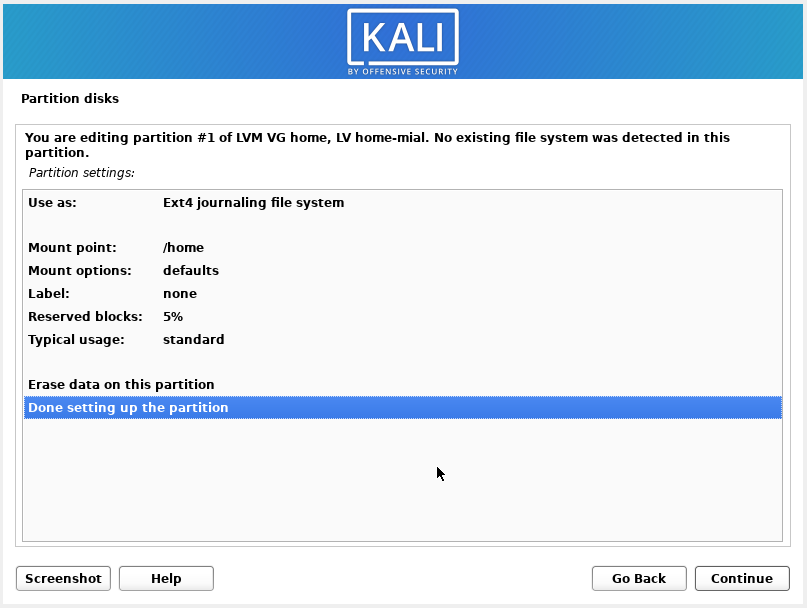
In the “Use as” field, select “Ext4 journaling file system”.
Select “/home” for “Mount point”. Then click “Done setting up the partition”.
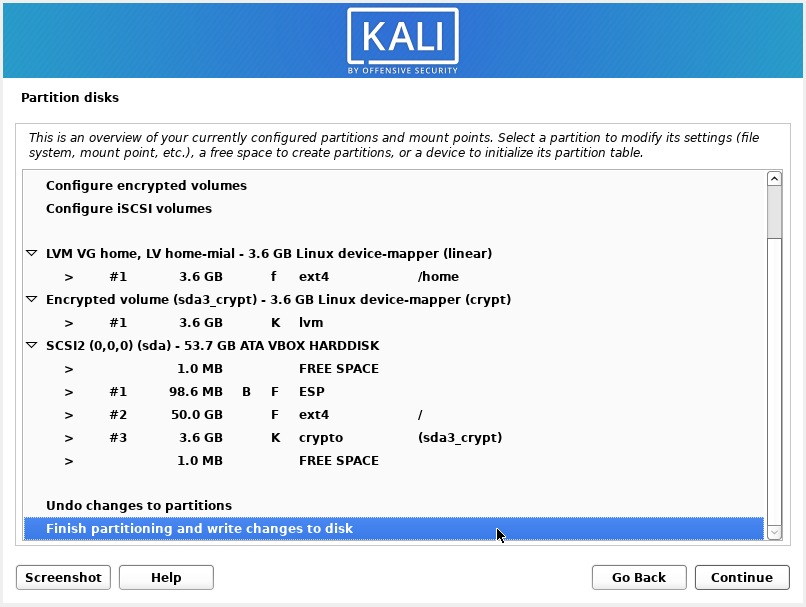
Finish partitioning the disk, select “Finish partitioning and write changes to disk” → “Continue”.
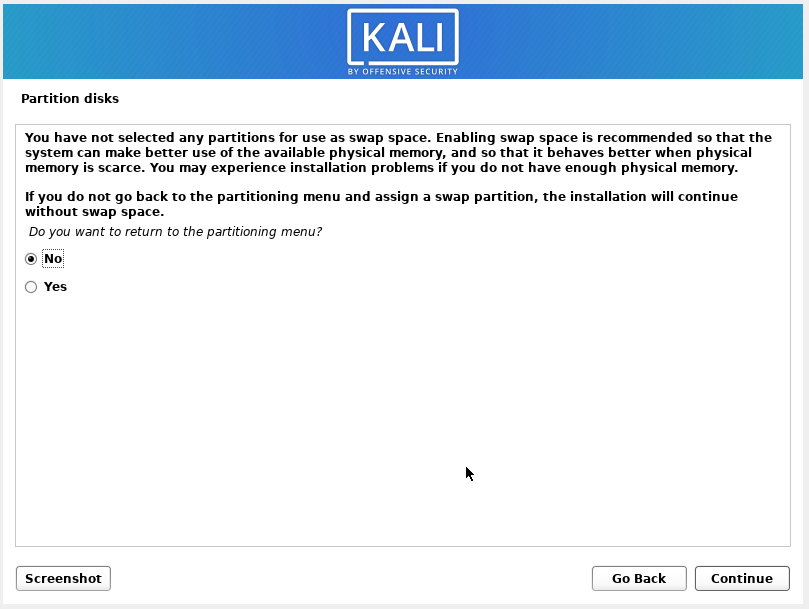
I am warned that I have not created a swap partition – I have 32 GB of RAM, I do not need a wap partition, so I choose “No”.
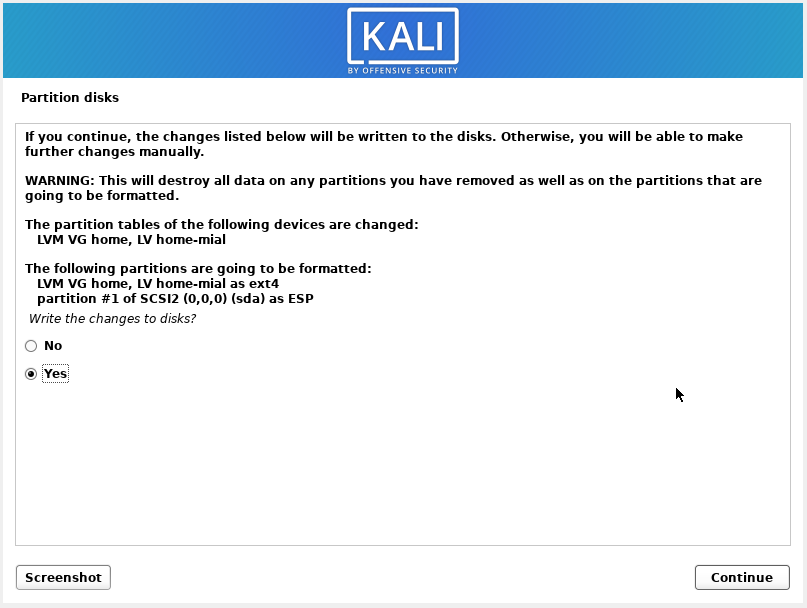
We are once again warned that the data will be written to the disk and the information on it will be lost, select “Yes”.
Further installation steps are identical to the first example.
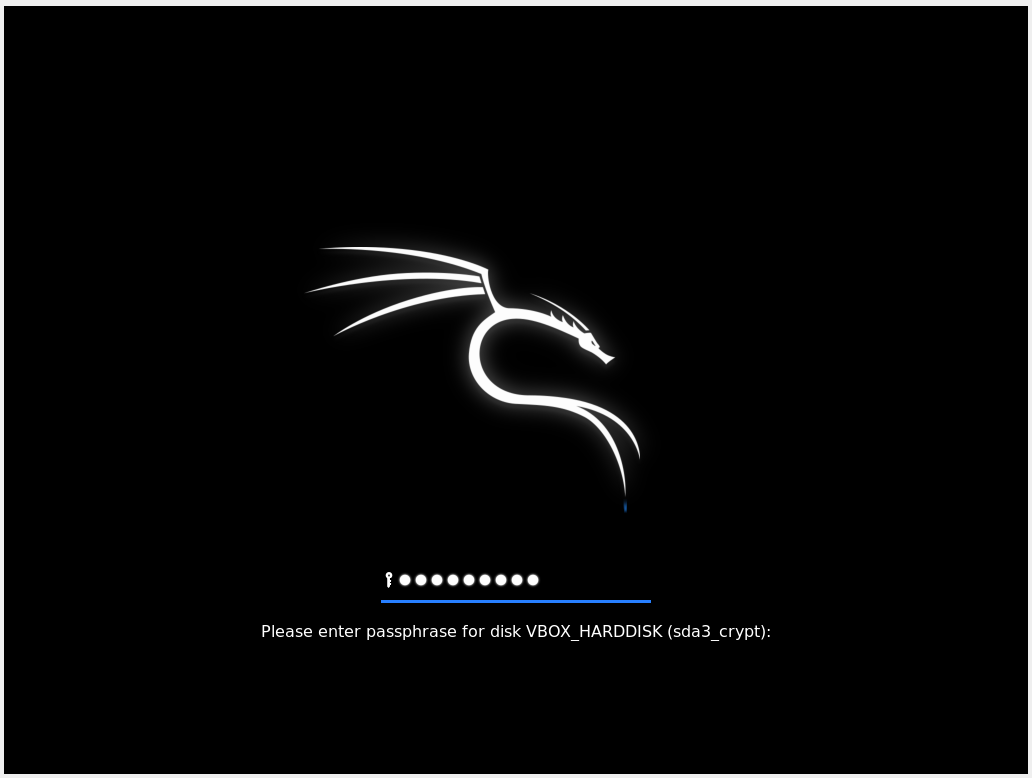
If everything is done correctly, you will be prompted for a password when you turn on the computer.
You can make sure that the list of block devices is exactly as we intended it.

Related articles:
- How to install Kali Linux with full disk encryption (100%)
- How to install Kali Linux with encrypted user's home folder (auto-partitioning) (100%)
- How to find out when Linux was installed (81.8%)
- How to change the VeraCrypt interface language in Linux (59.8%)
- How to change configuration files when migrating from OpenVPN 2.4.* to OpenVPN 2.5.* (59.8%)
- How to find out which shell is in use in Linux (RANDOM - 50%)