How to reduce image size. Bulk photo scaling and resizing on the command line
August 12, 2022
How to reduce image size
You can reduce the image size in several ways:
1. Select lossy image encoding format (JPEG)
2. Increase the level of image compression (for images compressed with loss of quality, this will lead to a deterioration in the appearance of the image, for images compressed without quality loss, this will mean longer processing of the image)
3. Reduce the image size in pixels. This will affect the clarity of the image and the ability to see fine details.
How to resize an image on the Linux command line
To specify the image size in pixels, use the magick utility with -scale PIXELS option. This option sets the width of the output image, as for the height, it will be selected automatically to maintain the original aspect ratio of the image.
Command example:
magick IMAGE.jpg -scale 150 COMPRESSED.jpg
The magick command is part of the ImageMagick package. For details on installing ImageMagick, including which dependencies need to be installed to support the maximum number of formats, as well as a description of the command structure and all options, see the article: “ImageMagick guide: installing, using, and troubleshooting”.
If you want the image to resize only if it is larger than a certain size, then use the -scale option with a greater than sign (>), which must be enclosed in quotes along with the number. For example, the following command will only shrink an image to 500 pixels wide if the image is larger than 500 pixels.
magick IMAGE.jpg -scale '>500' size.jpg
If you use the command without the greater than sign (>), the image size will be set to 500 pixels, regardless of its initial size. That is, the image size is less than 500 pixels, then its width will be set to 500 pixels with the following command:
magick IMAGE.jpg -scale '500' size.jpg
See the Image Geometry section for details.
The -scale option enlarges images using pixel averaging. When you reduce an image, pixels are simply removed. No image filters are applied.
In addition to this option, there are also the following:
- -resize GEOMETRY – resizes the image, takes into account filters (option -filter)
- -sample GEOMETRY – modifies the image with pixel subsampling and pixel replication respectively. Doesn't take into account filters. The key feature of -sample is that no new colors are added to the resulting image, although some colors may disappear.
- -resample GEOMETRY – changes image resolution, works with dpi
How to set image compression level in Linux command line
When converting to some formats, you can use the -quality VALUE option. For VALUE, enter a number between 1 (worst quality) and 100 (best quality). For example:
magick IMAGE.jpg -quality 40 COMPRESSED.jpg
The -quality option is applicable for JPEG, MIFF, TIFF, PNG, MNG formats.
For lossy image formats (JPEG), this option sets the degree of quality – the lower the quality, the greater the loss in compression, but also the smaller the size.
For other lossless encoding formats, this option sets the compression ratio.
For the JPEG and MPEG image formats, quality is 1 (lowest image quality and highest compression) to 100 (best quality but least effective compression). The default is to use the estimated quality of your input image if it can be determined, otherwise 92. When the quality is greater than 90, then the chroma channels are not downsampled. Use the -sampling-factor option to specify the factors for chroma downsampling.
For the JPEG-2000 image format, quality is mapped using a non-linear equation to the compression ratio required by the Jasper library. This non-linear equation is intended to loosely approximate the quality provided by the JPEG v1 format. The default quality value 100, a request for non-lossy compression. A quality of 75 results in a request for 16:1 compression.
For the MNG and PNG image formats, the quality value sets the zlib compression level (quality / 10) and filter-type (quality % 10). The default PNG "quality" is 75, which means compression level 7 with adaptive PNG filtering, unless the image has a color map, in which case it means compression level 7 with no PNG filtering.
For compression level 0 (quality value less than 10), the Huffman-only strategy is used, which is fastest but not necessarily the worst compression.
If filter-type is 4 or less, the specified PNG filter-type is used for all scanlines:
| 0 | none |
| 1 | sub |
| 2 | up |
| 3 | average |
| 4 | Paeth |
If filter-type is 5, adaptive filtering is used when quality is greater than 50 and the image does not have a color map, otherwise no filtering is used.
If filter-type is 6, adaptive filtering with minimum-sum-of-absolute-values is used.
Only if the output is MNG, if filter-type is 7, the LOCO color transformation (intrapixel differencing) and adaptive filtering with minimum-sum-of-absolute-values are used.
If the filter-type is 8 the zlib Z_RLE compression strategy (or the Z_HUFFMAN_ONLY strategy, when compression level is 0) is used with adaptive PNG filtering.
If the filter-type is 9 the zlib Z_RLE compression strategy (or the Z_HUFFMAN_ONLY strategy, when compression level is 0) is used with no PNG filtering.
The quality setting has no effect on the appearance or signature of PNG and MNG images, since the compression is always lossless.
Not all combinations of compression level, strategy, and PNG filter type can be obtained using the -quality option. For more precise control, you can use the PNG:compression-level=N, PNG:compression-strategy=N, and PNG:compression-filter=N defines, respectively, instead. See -define. Values from the -defines optoin take precedence over values from the -quality option.
For further information, see the PNG specification.
For the MIFF and TIFF image formats, quality/10 is the Zip/BZip compression level, which is 0 (worst but fastest compression) to 9 (best but slowest). It has no effect on the image appearance, since the compression is always lossless.
For the BPG image format, quality/2 is the actual BPG compression level (range from 0 to 51).
Bulk photo resizing on the command line
The magick utility is great for bulk conversion of a large number of files.
Suppose there is a task to process all JPG files in the current directory in such a way as to reduce their size to 100 pixels and save them in the “preview” folder, while each file must keep its own name.
First, let's note that in order not to specify each file separately, we will use “Wildcards in the file name”, that is, we will specify “*.jpg” as the input file.
Also, instead of the -scale option, we will use “Image resizing while reading”, i.e. the desired image size will be indicated in square brackets after the filename pattern. So the filename becomes “*.jpg[100x]” because we want to resize to 100px.
Please note that this approach of replacing -scale with changing the image during reading will save a lot of computer resources (RAM), since all images will be processed sequentially, without first reading them into RAM.
As the output file, we will use “Specifying a file name pattern”.
Some “properties” must be defined in a special way in order to be used. For example, only “properties” prefixed with “filename:” can be used to change the output filename of an image.
Let's create a “preview” directory:
mkdir preview
The following command reads all the .jpg files in the current directory one by one, resizes them to 100 pixels, and saves them to the “preview” directory with the same names:
magick *.jpg[100x] -set filename:currentfile '%t' 'preview/%[filename:currentfile].jpg'
%t means original filename without extension. A list of possible attributes and their conventions in the form of escaped characters can be found at the link: https://imagemagick.org/script/escape.php
If you want the original file name to also have the width and height data appended, then use the following command:
magick *.jpg[100x] -set filename:currentfile '%t-%wx%h' 'preview/%[filename:currentfile].jpg'
This command uses %w (width) and %h (height).
If you want the image size to be reduced only if it exceeds the specified size, then add a “>” symbol to the selected size:
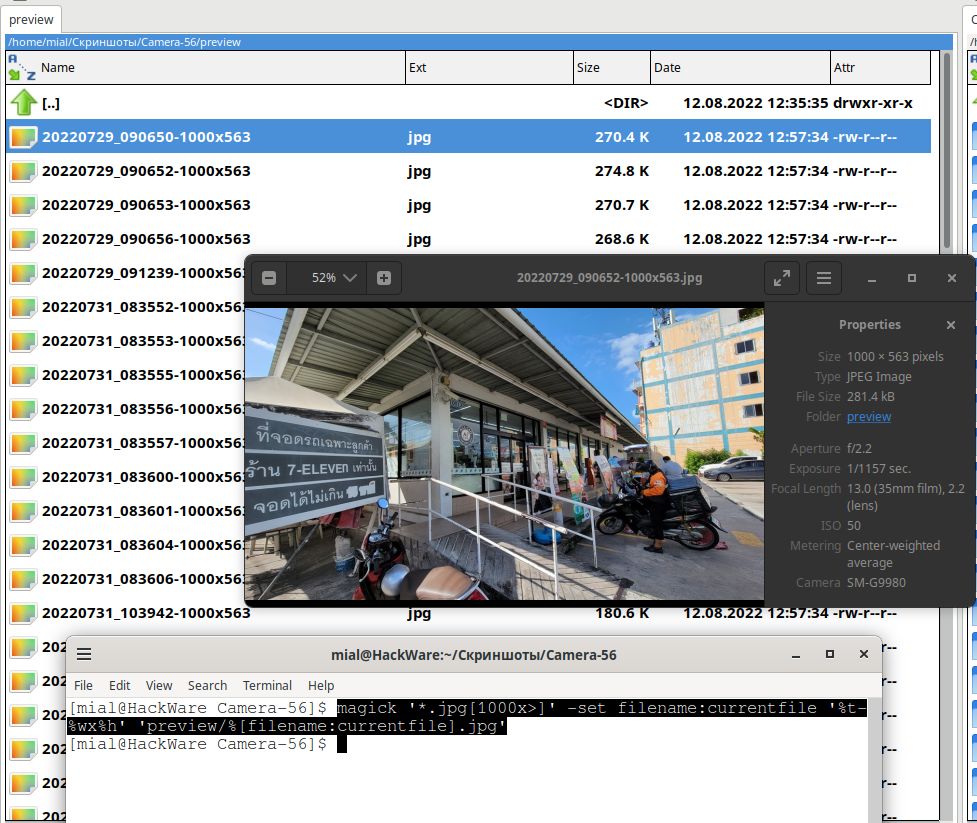
magick '*.jpg[1000x>]' -set filename:currentfile '%t-%wx%h' 'preview/%[filename:currentfile].jpg'
For more examples of specifying the size of images, see the Image Geometry section.
Compressing images without resizing them
Besides changing the number of pixels in an image, a good result of reducing the size that a photograph occupies without much loss in quality is a decrease in the level of quality, in fact, the level of compression.
To do this, use the -quality option already discussed, after which specify a number in the range from 0 (worst quality) to 100 (best quality, minimum compression).
See also: How to check JPG quality level
In the following example, all JPEG files will be compressed with quality 40 and stored in the “compressed” folder with the same names:
mkdir compressed
magick *.jpg -quality 40 -set filename:currentfile '%t' 'compressed/%[filename:currentfile].jpg'
How to prevent saving all pictures in one file
The JPEG and PNG formats do not support multi-image files, so this problem does not occur when converting to these formats. But a number of formats, such as GIF, MIFF, TIFF, PDF, MNG, HEIF, and HEIC, support multiple image files. In this case, all images will be saved to one file by default.
See also: How to enable saving photos in HEIC (HEIF) format in Android and whether it should be done
To save each image to a separate file, add the +adjoin option to your command, like so:
magick '*.jpg[1000x>]' -set filename:currentfile '%t-%wx%h' +adjoin 'heif/%[filename:currentfile].heif'
Related articles:
- How to convert a large number of images to another format (100%)
- The structure of the magick command (ImageMagick) (100%)
- How to check JPG quality level (SOLVED) (83.9%)
- ImageMagick guide: installing, using, and troubleshooting (71.8%)
- How to convert images to any formats in Linux (SOLVED) (64.9%)
- How to run small Python code in Bash (RANDOM - 50%)