How to composite and append images on the Linux command line (overlay and merge images)
August 15, 2022
The “magick” utility is part of the ImageMagick package. For details on installing ImageMagick, including which dependencies need to be installed to support the maximum number of formats, as well as a description of the command structure, examples of usage and all options, see the article: ImageMagick guide: installing, using, and troubleshooting.
Let’s consider how to overlay an image on an image and merge images.
The command to overlay one image on another consists of three main parts:
- The name of the initial image that will act as the background.
- The name of the second image to overlay the first. Geometry options, as well as the “-composite” option. This item can be repeated many times to overlay several images on one.
- The name of the output file.
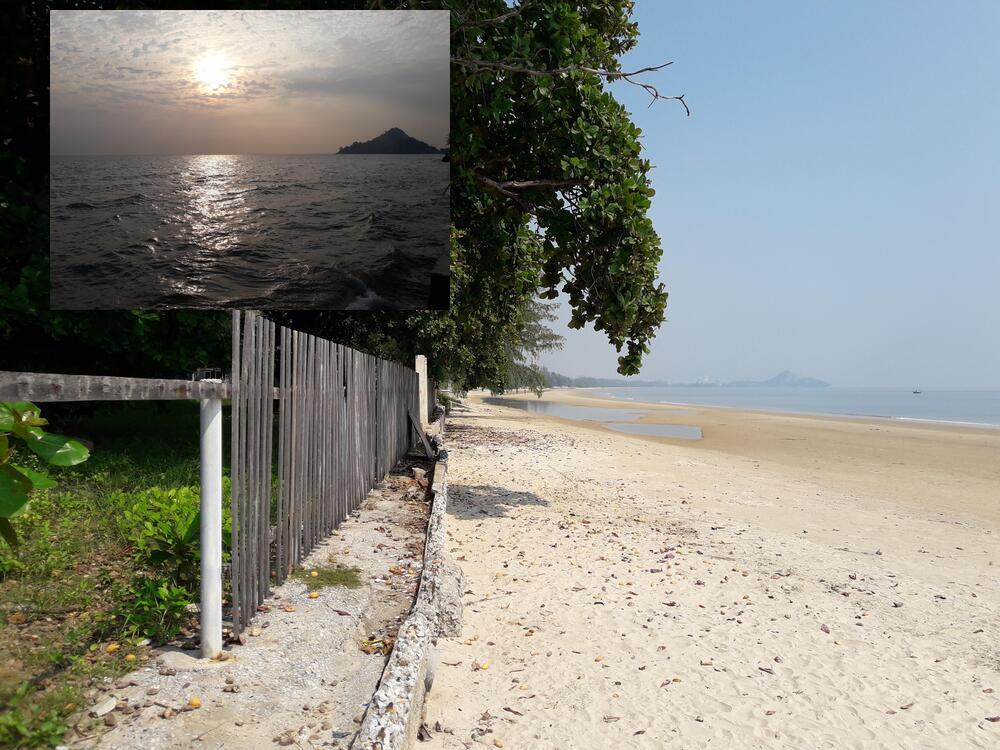
In the following example, IMAGE.jpg will be overlaid with IMAGE1.jpg, whose width will be 400 pixels, this image will be shifted from the left edge by 50 pixels and from the top by 10 pixels, the new image will be saved to the test27.jpg file:
magick IMAGE.jpg IMAGE1.jpg -geometry 400x300+50+10 -composite test27.jpg
Please note that the overlay image will have a width of 400 pixels, and the height will be adjusted automatically to maintain the original proportions of the image, see the Image Geometry section for details.
If you want to place the image in the center, in one of the corners, or in the middle of one of the sides, then instead of specifying an offset, you can use the -gravity option.
With the -gravity option you can change the origin, for example:
magick IMAGE.jpg IMAGE1.jpg -gravity North -geometry 400x300+0+0 -composite test27.jpg
magick IMAGE.jpg IMAGE1.jpg -gravity South -geometry 400x300+0+0 -composite test27.jpg
magick IMAGE.jpg IMAGE1.jpg -gravity SouthWest -geometry 400x300+0+0 -composite test27.jpg
See also The -gravity option defines the origin for the Offset.
A similar command, in which images from IMAGE1.jpg to IMAGE6.jpg are superimposed on the IMAGE.jpg image:
magick IMAGE.jpg IMAGE1.jpg -geometry 400x300+50+10 -composite IMAGE2.jpg -geometry 330x230+225+210 -composite IMAGE3.jpg -geometry 350x300+475+260 -composite IMAGE4.jpg -geometry 400x300+25+410 -composite IMAGE5.jpg -geometry 400x300+625+10 -composite IMAGE6.jpg -geometry 350x300+600+450 -composite test28.jpg
Note that the -composite option is applied after each image!
To better understand the logic, brackets have been added to the previous command that combine the image and its settings, this command does not differ from the previous one in its result:
magick IMAGE.jpg \( IMAGE1.jpg -geometry 400x300+50+10 \) -composite \( IMAGE2.jpg -geometry 330x230+225+210 \) -composite \( IMAGE3.jpg -geometry 350x300+475+260 \) -composite \( IMAGE4.jpg -geometry 400x300+25+410 \) -composite \( IMAGE5.jpg -geometry 400x300+625+10 \) -composite \( IMAGE6.jpg -geometry 350x300+600+450 \) -composite b.jpg
Since the height is selected automatically, it can be omitted:
magick IMAGE.jpg IMAGE1.jpg -geometry 400x+50+10 -composite IMAGE2.jpg -geometry 330x+225+210 -composite IMAGE3.jpg -geometry 350x+475+260 -composite IMAGE4.jpg -geometry 400x+25+410 -composite IMAGE5.jpg -geometry 400x+625+10 -composite IMAGE6.jpg -geometry 350x+600+450 -composite b.jpg
As a background, instead of a photo, you can specify the background color, for this use the -size SIZE canvas:COLOR set of options. For example, the following command overlays images on a 1000×750 red background:
magick -size 1000x750 canvas:red IMAGE1.jpg -geometry 400x300+50+10 -composite IMAGE2.jpg -geometry 330x230+225+210 -composite IMAGE3.jpg -geometry 350x300+475+260 -composite IMAGE4.jpg -geometry 400x300+25+410 -composite IMAGE5.jpg -geometry 400x300+625+10 -composite IMAGE6.jpg -geometry 350x300+600+450 -composite test29.jpg
How to merge photos without overlay
The -append option connects the current images vertically or horizontally with +append.
This option creates one longer image by concatenating all current images in sequence from top to bottom.
magick IMAGE.jpg IMAGE1.jpg -append test31.jpg
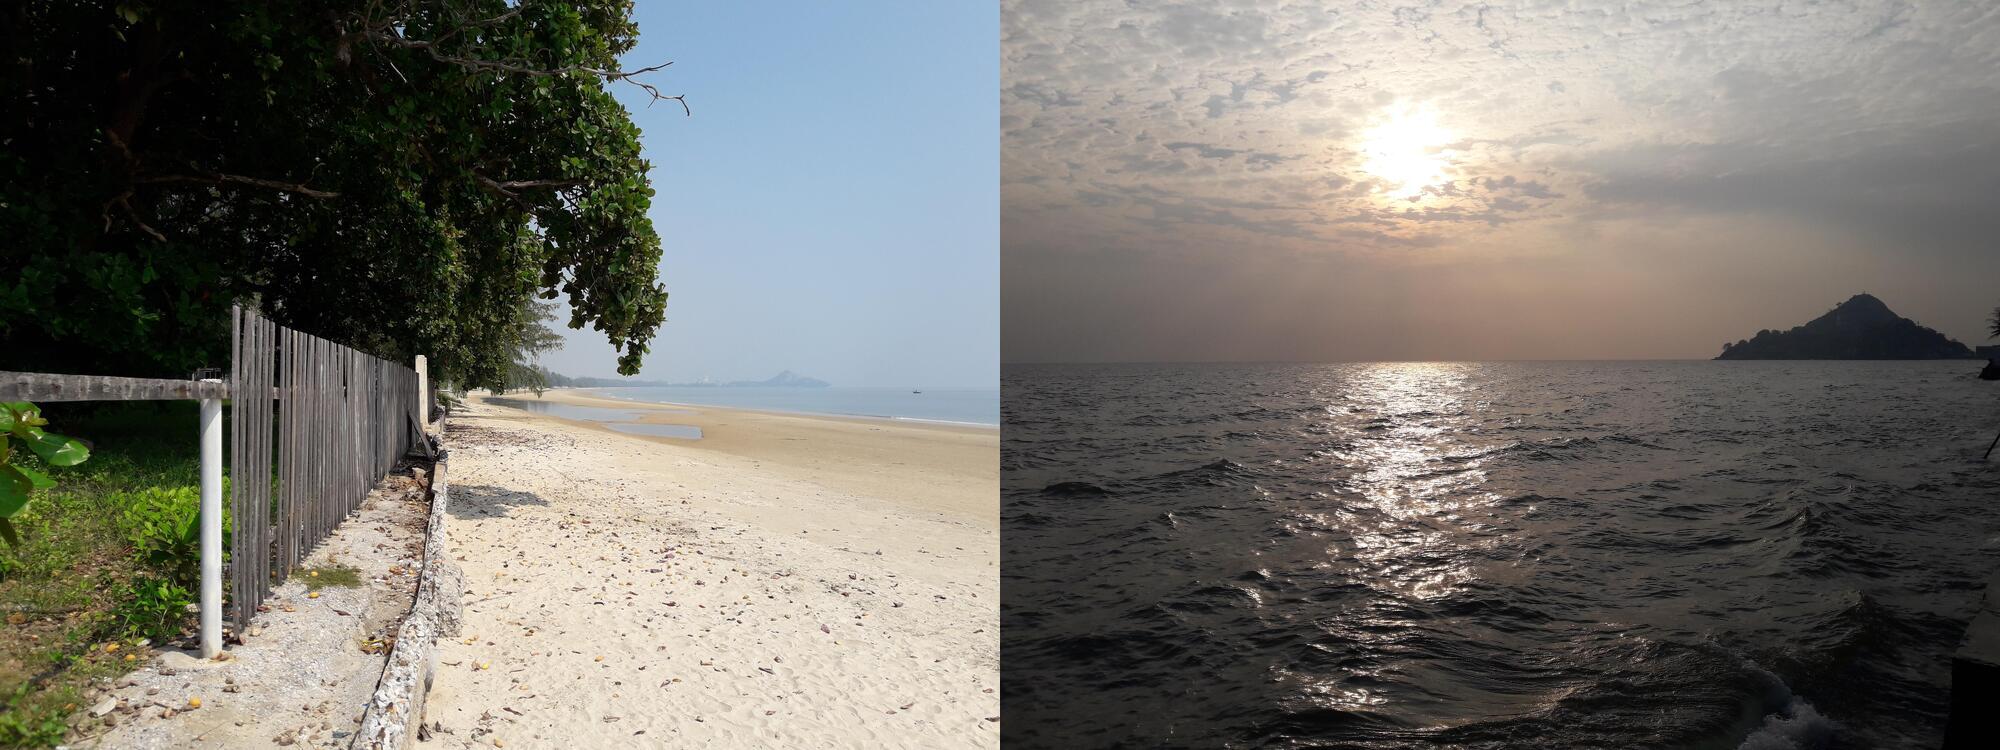
Use +append to add images from left to right.
magick IMAGE.jpg IMAGE1.jpg +append test31.jpg
If they have different widths, the narrower images are padded with the current background color setting, and their position relative to each other can be controlled by the current -gravity setting.
The background color can be set with the -background COLOR option. For example:
magick IMAGE.jpg -background Violet IMAGE1.jpg -append test30.jpg
You can also use the -scale option to scale images to the same size:
magick IMAGE.jpg -scale 1000 IMAGE1.jpg -scale 1000 -append test30.jpg
The previous command will bring both images to a width of 1000px and stack them on top of each other.
A similar command, but instead of placing the images on top of each other, it will place them from left to right (horizontally):
magick IMAGE.jpg -scale 1000 IMAGE1.jpg -scale 1000 +append test30.jpg
For more flexible options, including the ability to add space between images, use -smush.
The -smush OFFSET option adds a sequence of images together, ignoring transparency.
-smush is a more flexible version of -append, joining images in sequence from top to bottom (-smush) or left to right (+smush) with spacing between images according to the specified offset.
If the offset is negative, the images will overlap by that amount.
-smush respects -gravity. Any empty space will be filled with the background color.
For zero offset images and transparent images, the opaque parts of the two images will be aligned as closely as possible without overlapping.
An example of a command with the -smush option (brings images to the same width of 1000 pixels and places them on top of each other, separated by a space of 100 pixels):
magick IMAGE.jpg -scale 1000 -background Violet IMAGE1.jpg -scale 1000 -smush 100 test31.jpg
Related articles:
- How to add text to images in ImageMagick (85.5%)
- How to add a caption to a large number of images (85.5%)
- How to modify images on the Linux command line (85.5%)
- How to convert PDF to JPG using command line in Linux (SOLVED) (83.5%)
- How to convert JPG to PDF (83.5%)
- How to connect a TV to a computer in Windows 11 (RANDOM - 4.1%)


