
How to increase the color (saturation) of images, how to make a photo warmer or colder
September 11, 2022
You have probably noticed that other people's photographs can look very beautiful: incredible colors and shades, the landscape seems to be from a postcard.
You might think that it's all about some very expensive camera, the outstanding talent of a photographer, or incomprehensible skills in photo processing. All this can take place, but in fact, you can turn an ordinary photo into a very juicy and bright one with just one slider in the photo editor.
For this post, I'll be using the free and open source GIMP image editor. But in fact, you can find a similar function in other paid and free programs. You can transform your photos in photo editors on mobile phones as well.
How to enhance the color of an image. How to make colors vibrant
In GIMP, go to Color → Hue-Saturation.

Here you will see only one “Scale” slider.
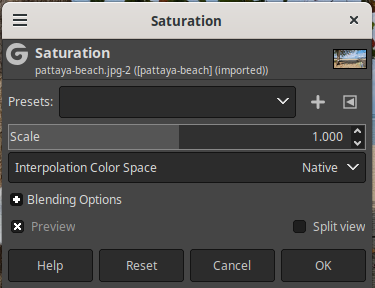
Moving to the right will make the colors more saturated.

Original image:
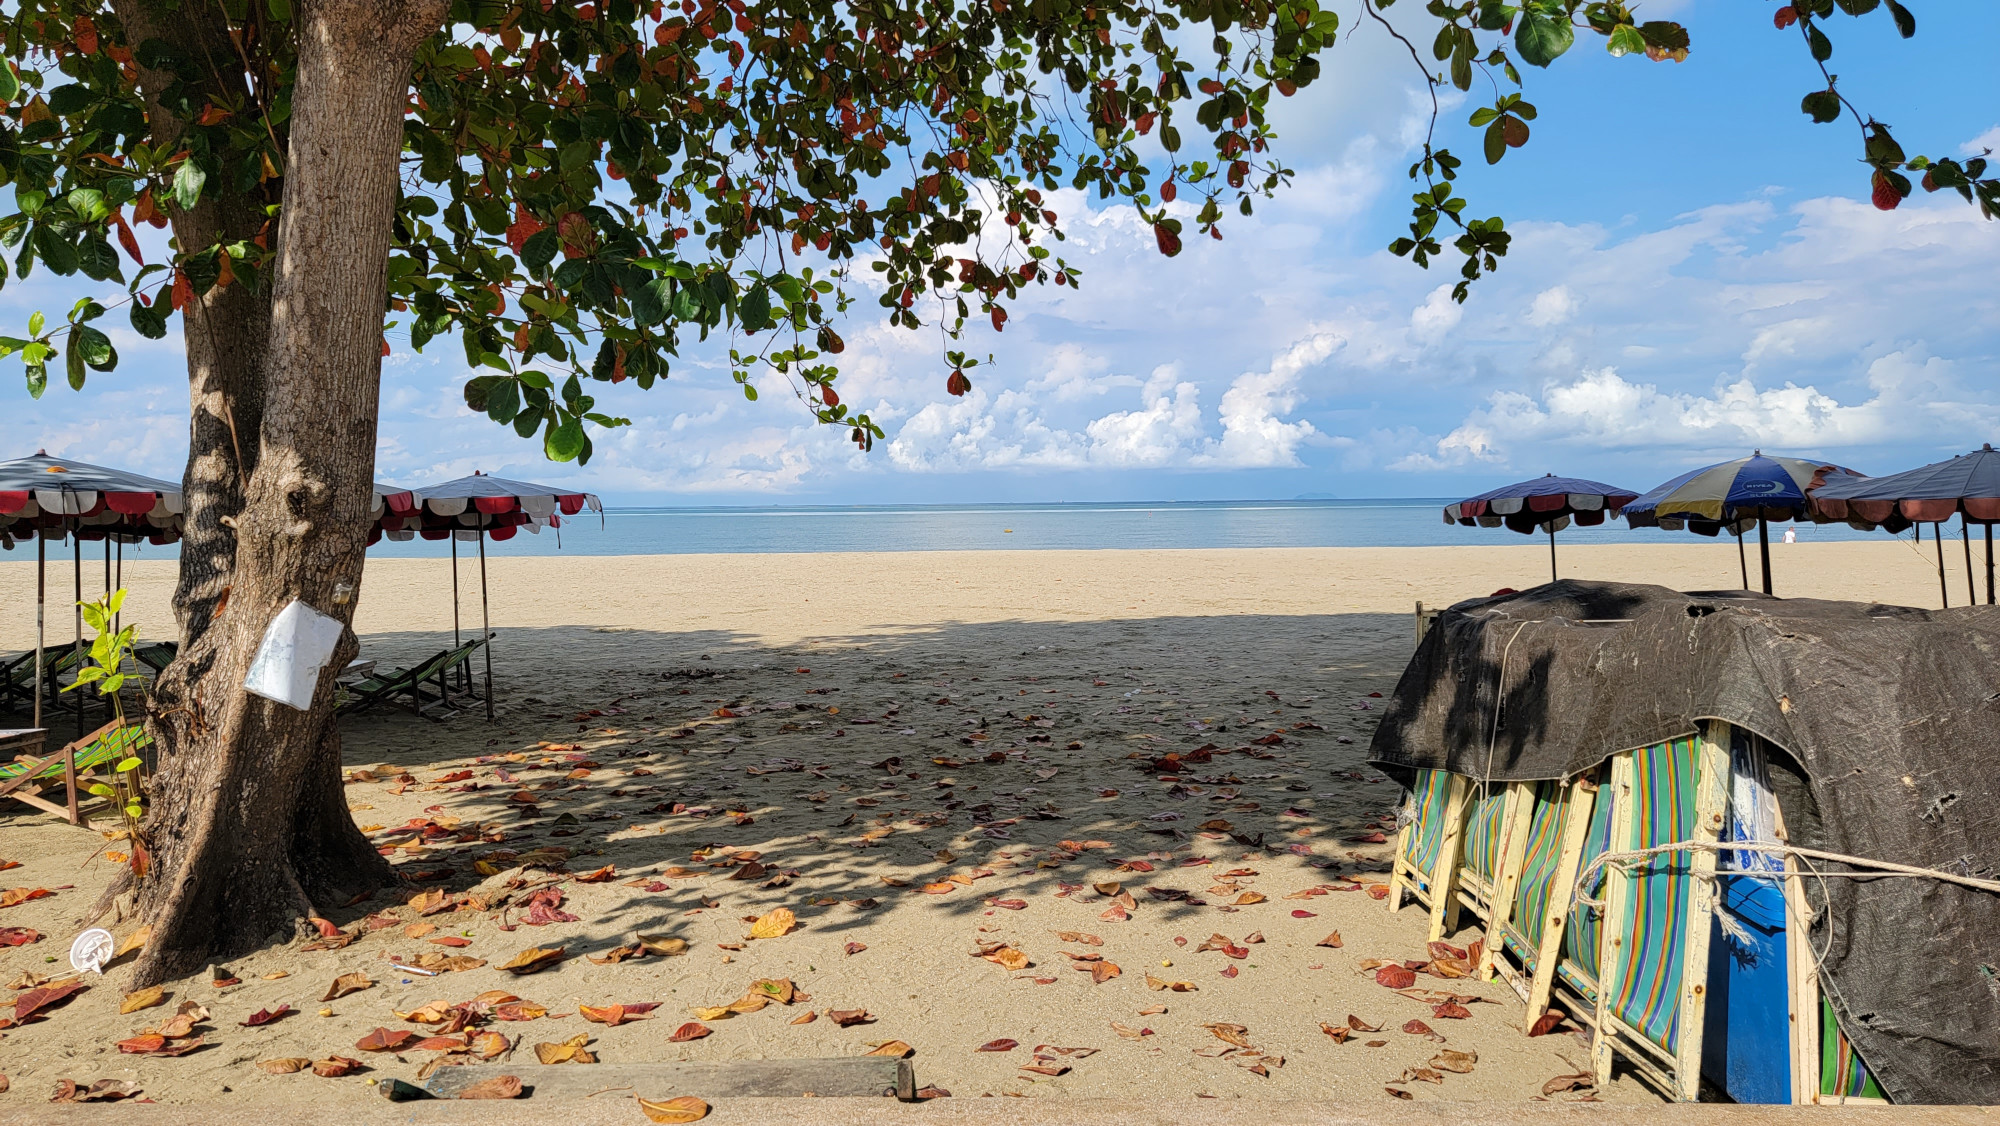
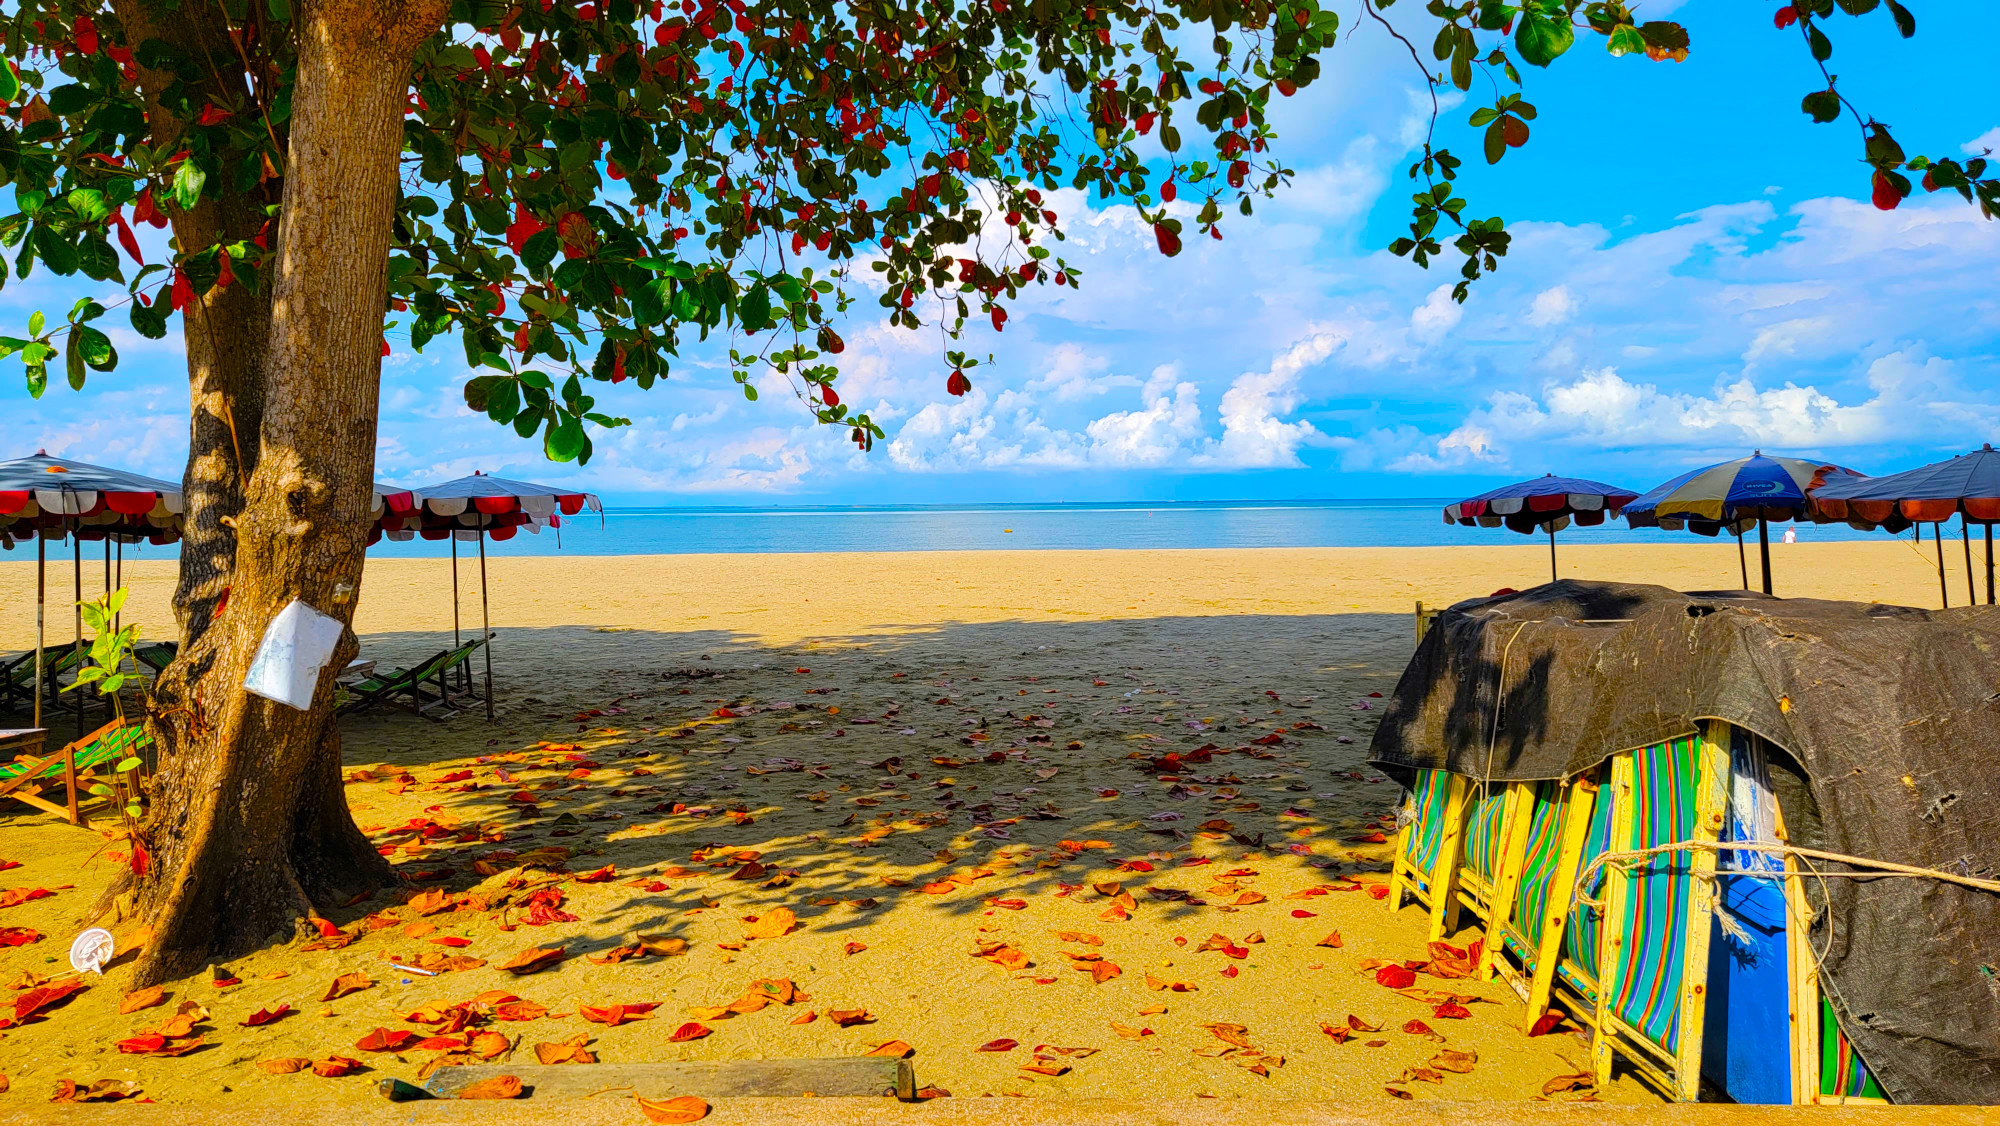
Image with high saturation:
Original image:
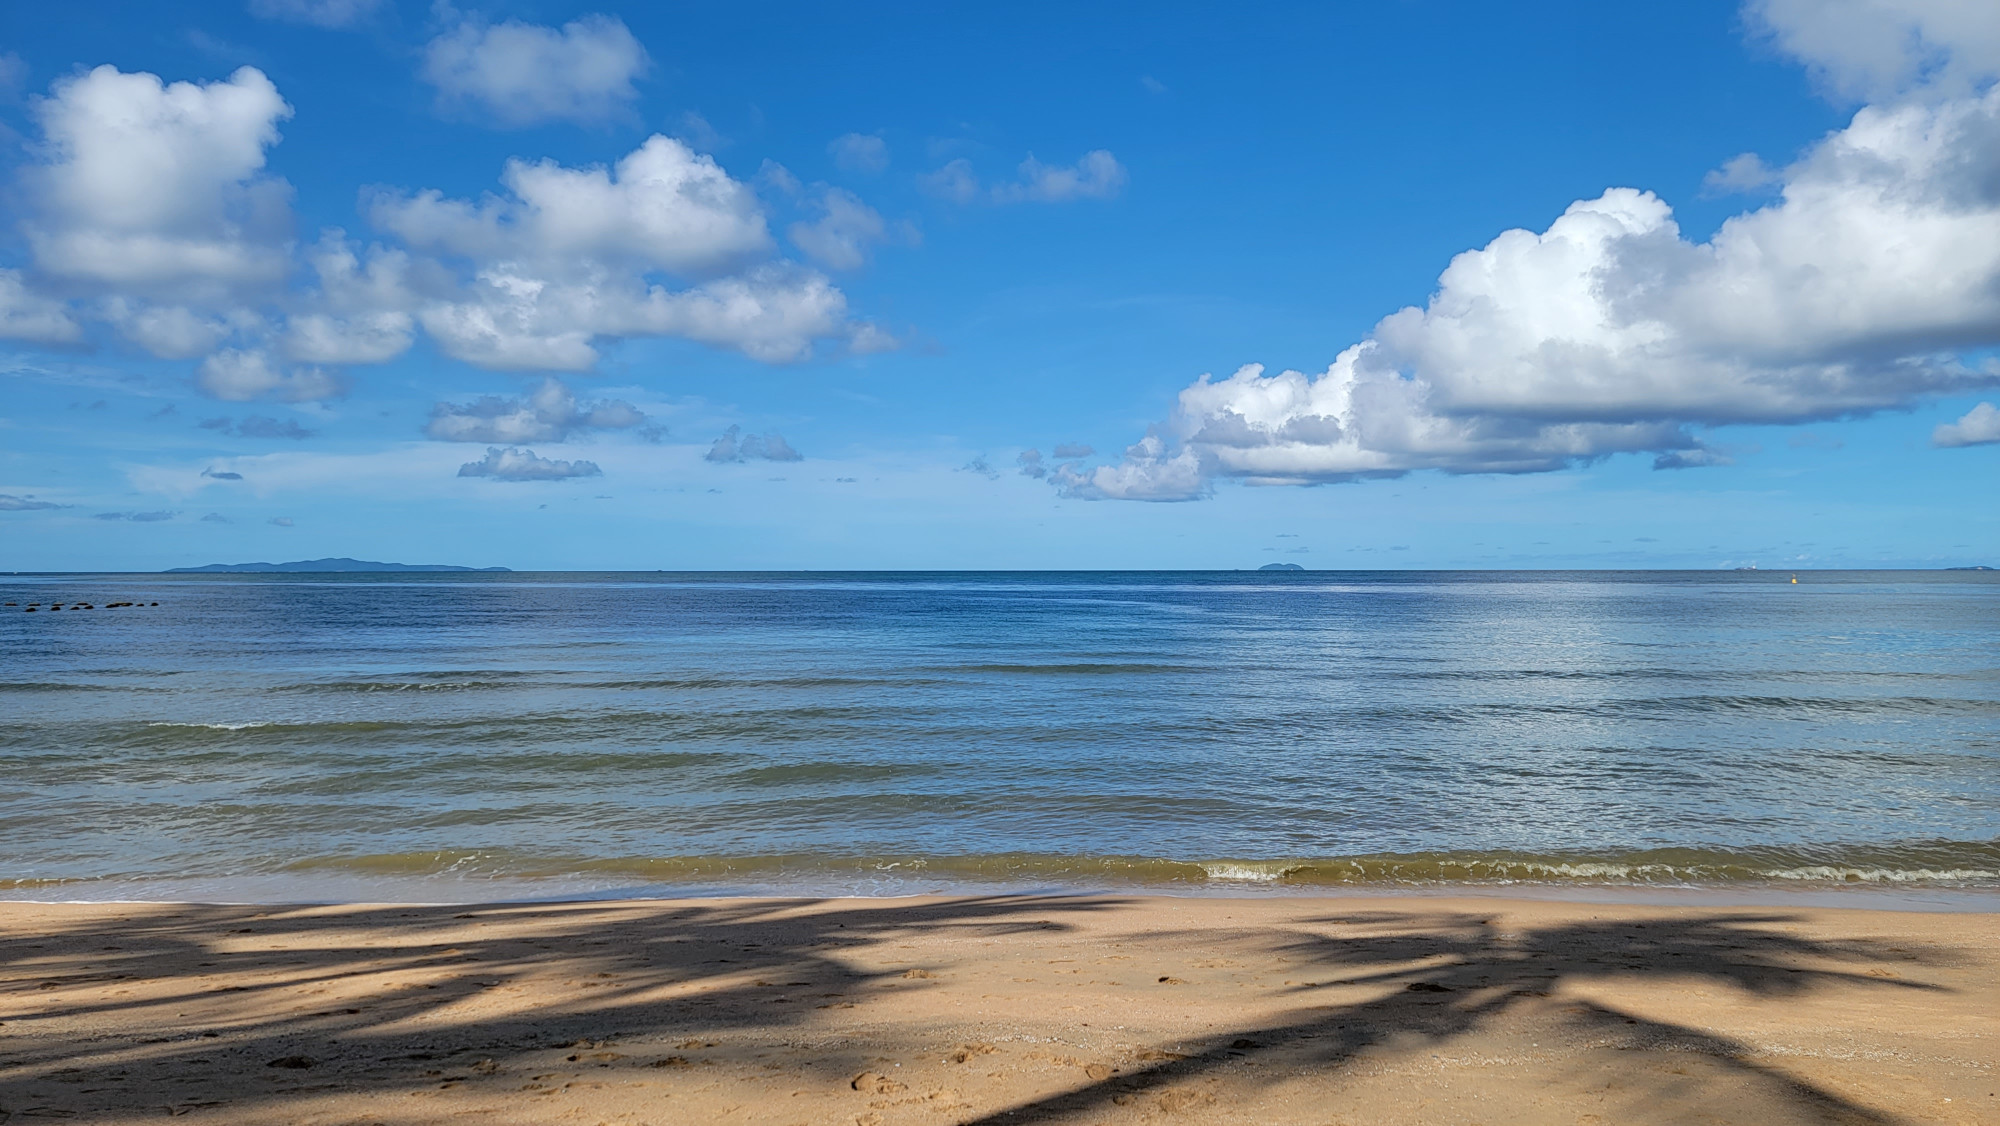
Image with high saturation:
Original image:

Image with high saturation:
Perhaps I do not know the measures (I set the saturation almost to the maximum), and the photos became too colorful. You can change the saturation according to your taste and artistic intent.
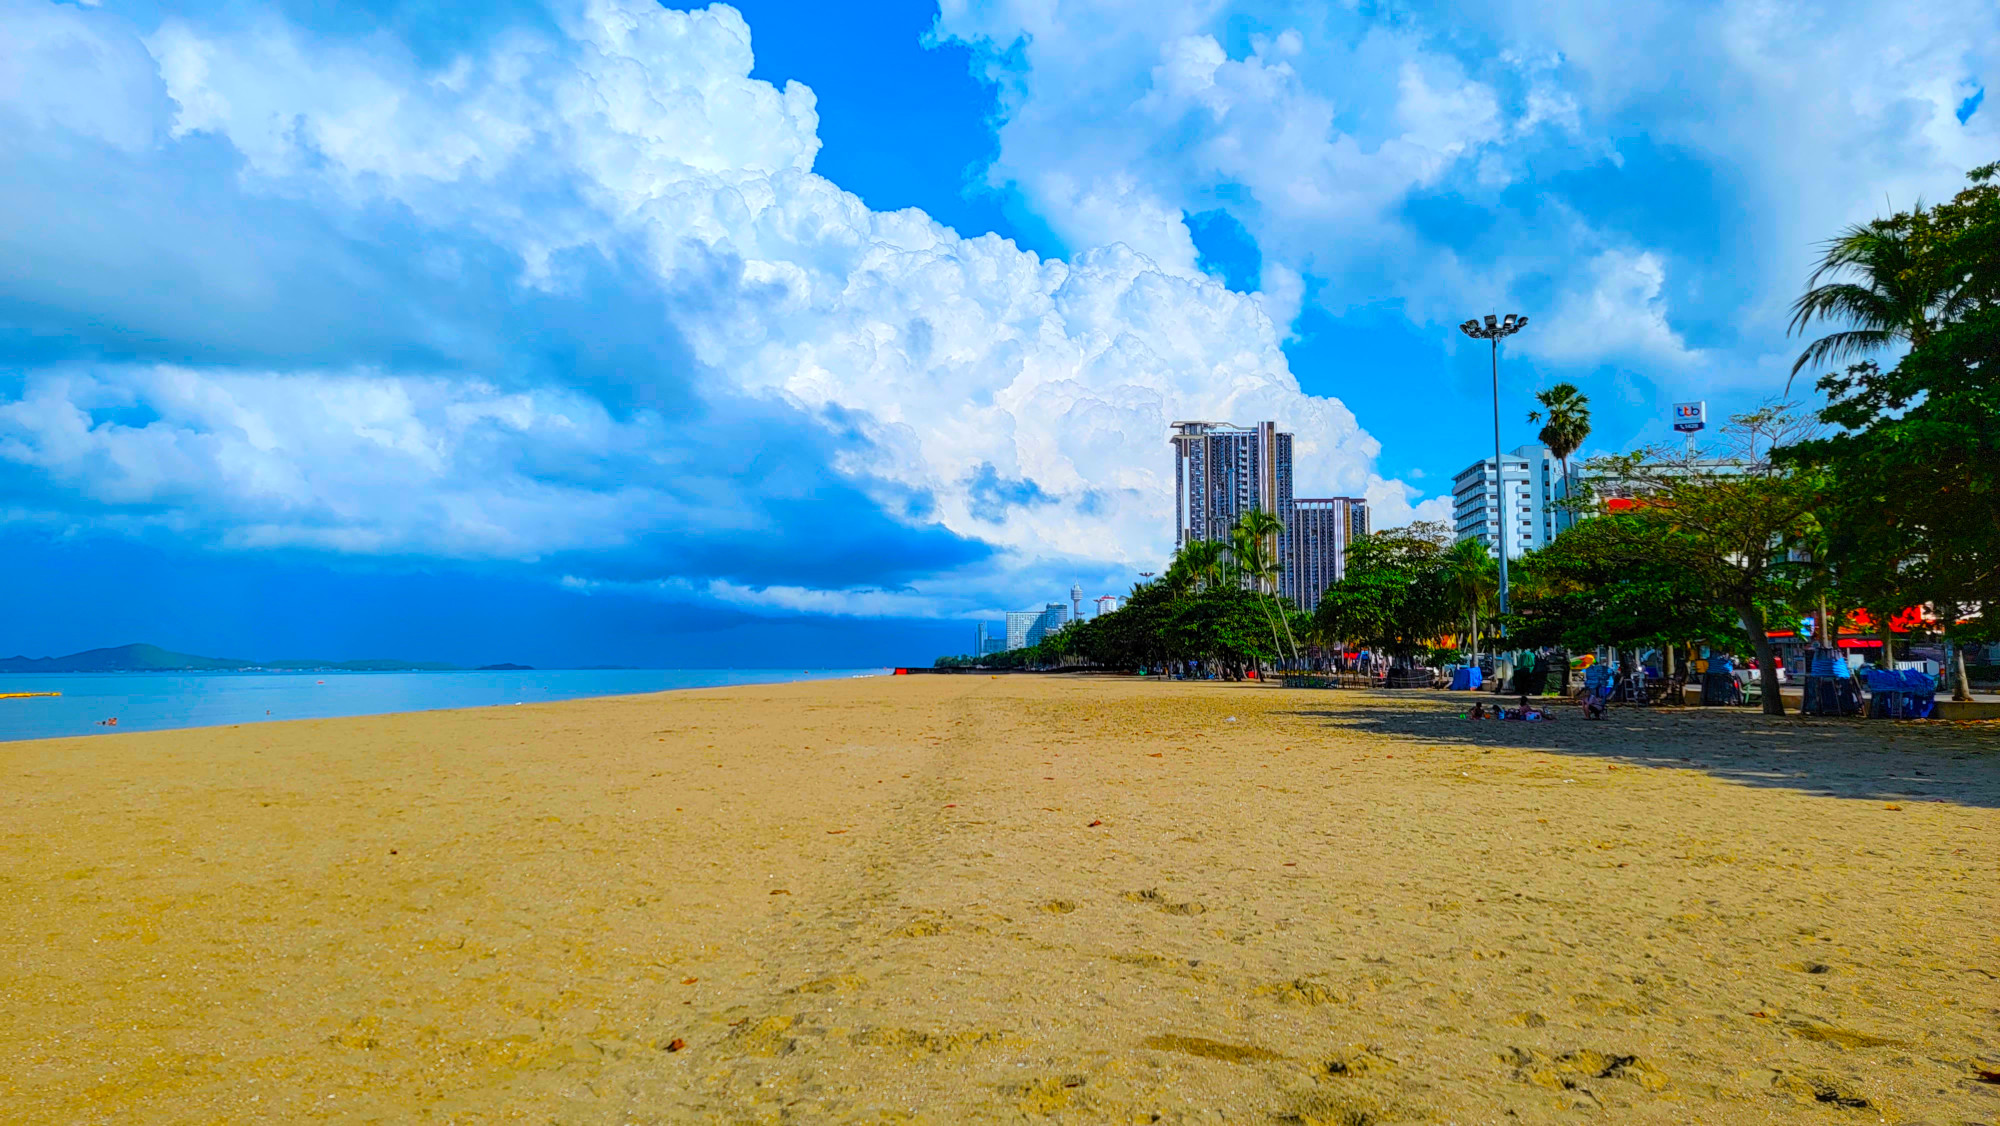
How to make a photo warmer or colder
A warmer photo has more yellowness, a colder photo has more blueness.
Changing the temperature of a photo also greatly changes its perception.
To change the temperature of a photo in GIMP, go to Color → Color Temperature.
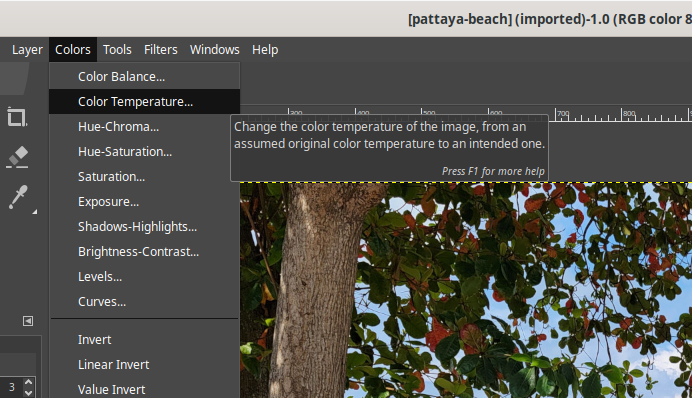
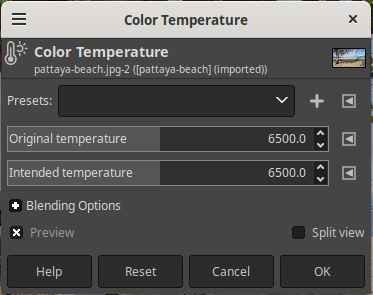
Here you will see two sliders “Original temperature” and “Intended temperature”. experiment with both of them.
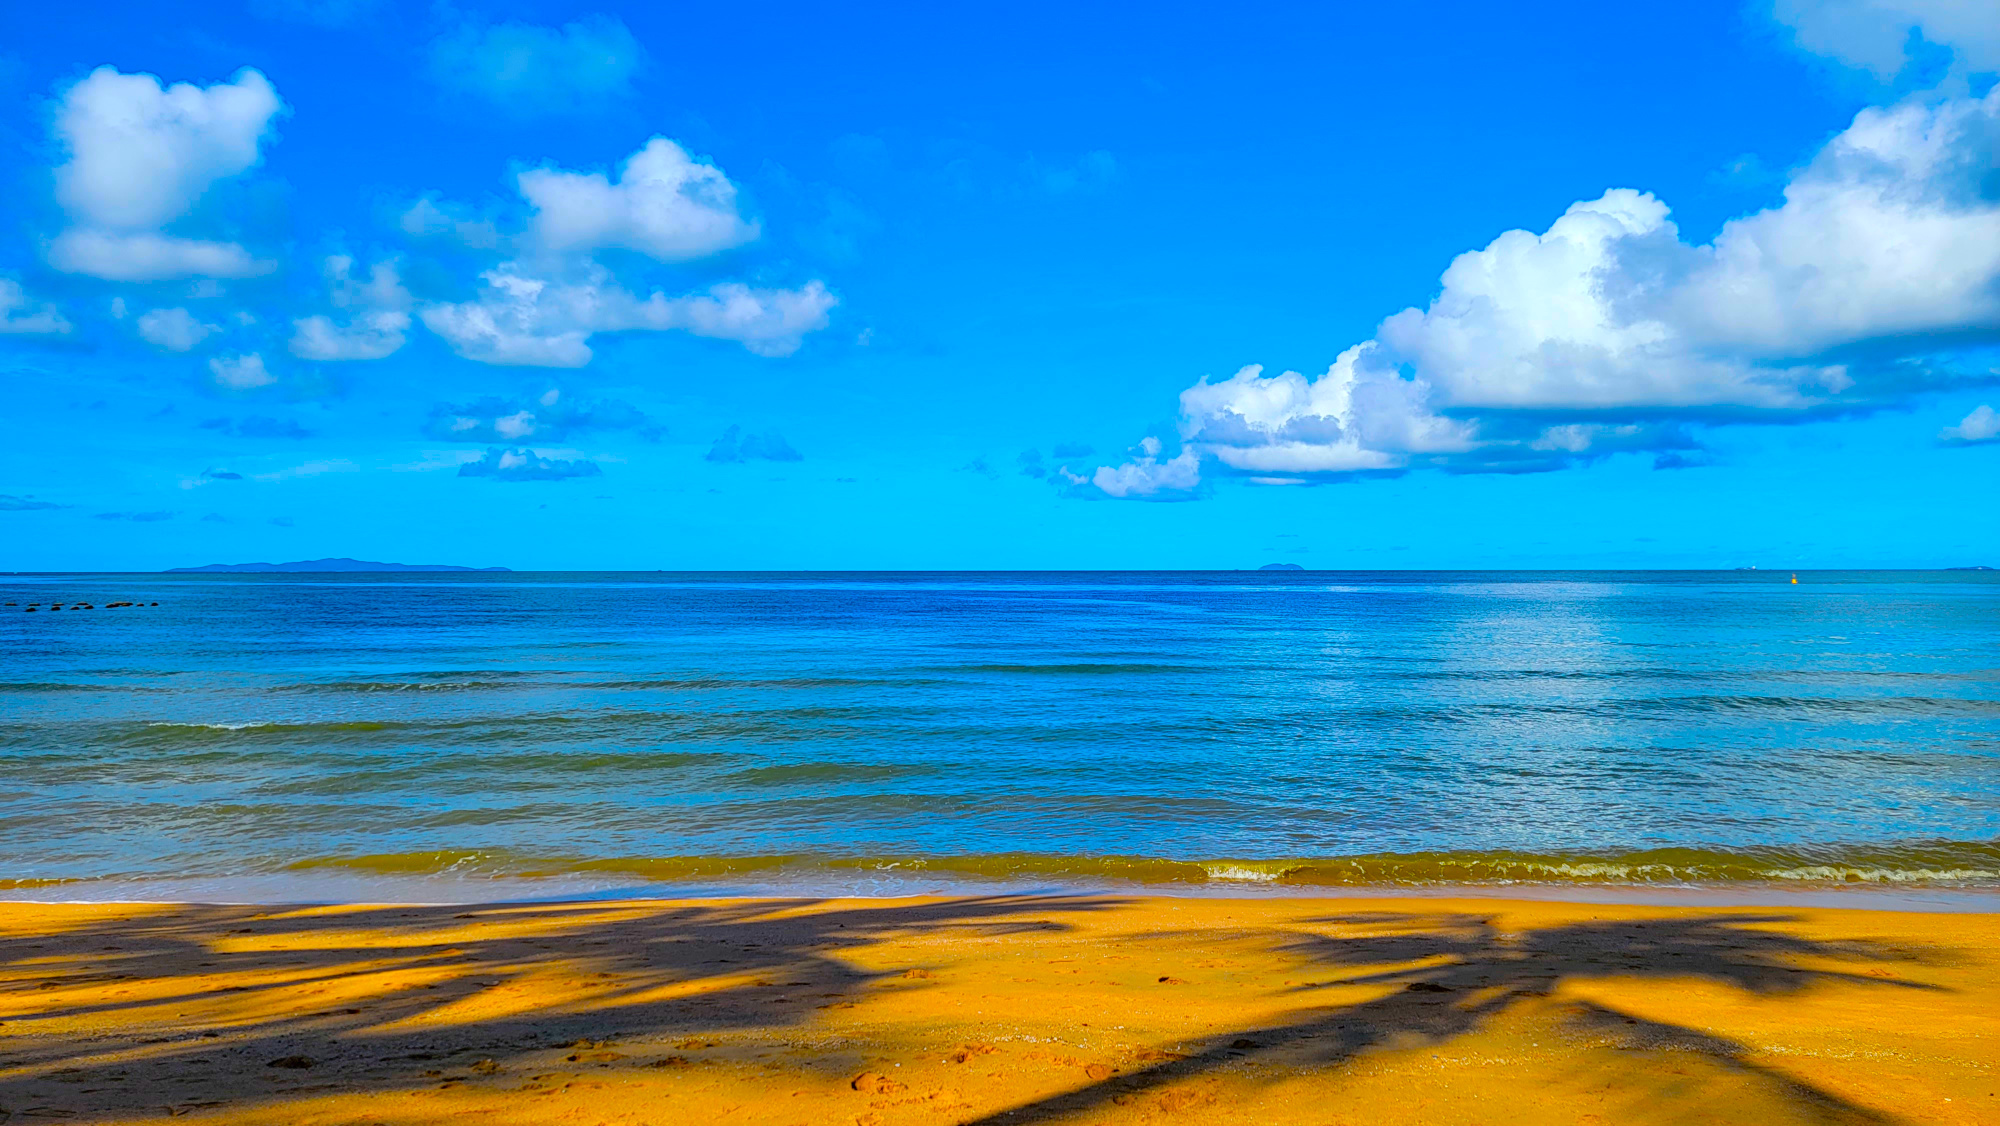
Original Image:
Image in warm colors:
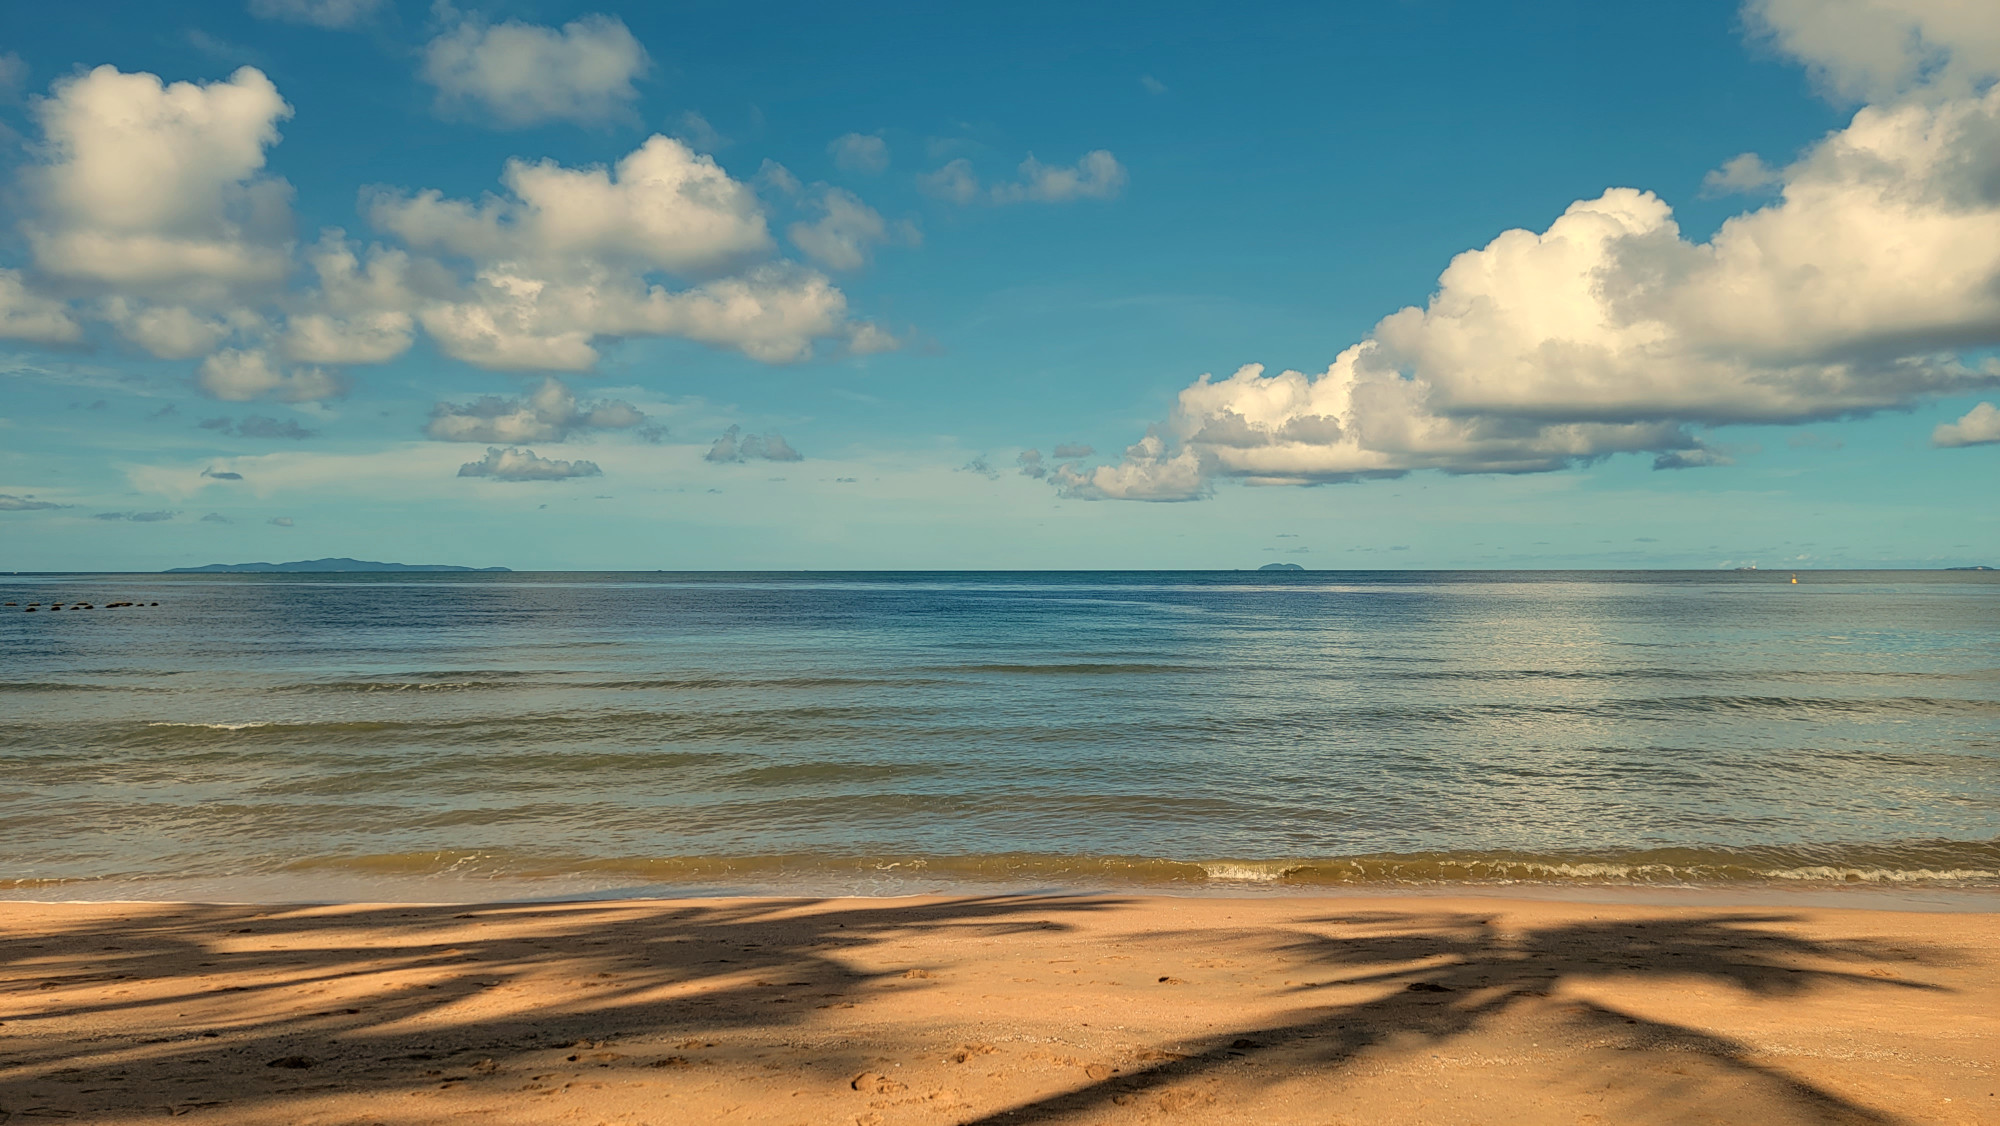
Image in cold colors:
Changes in shadows and light
Let’s consider how to emphasize the shadows and light sources in the photo.
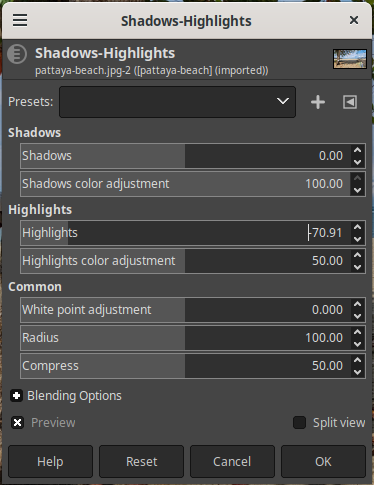
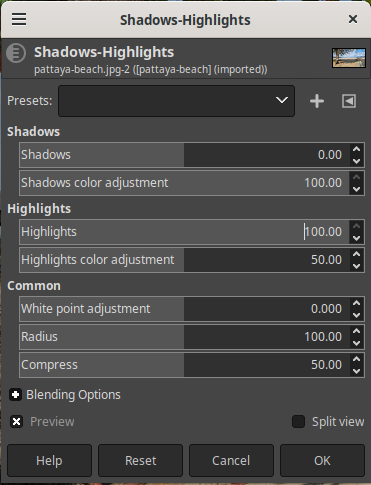
From the GIMP menu, go to Color → Shadows-Highlights.

Here you can increase or decrease the shadows in the photo, as well as increase or decrease the intensity of the light source.

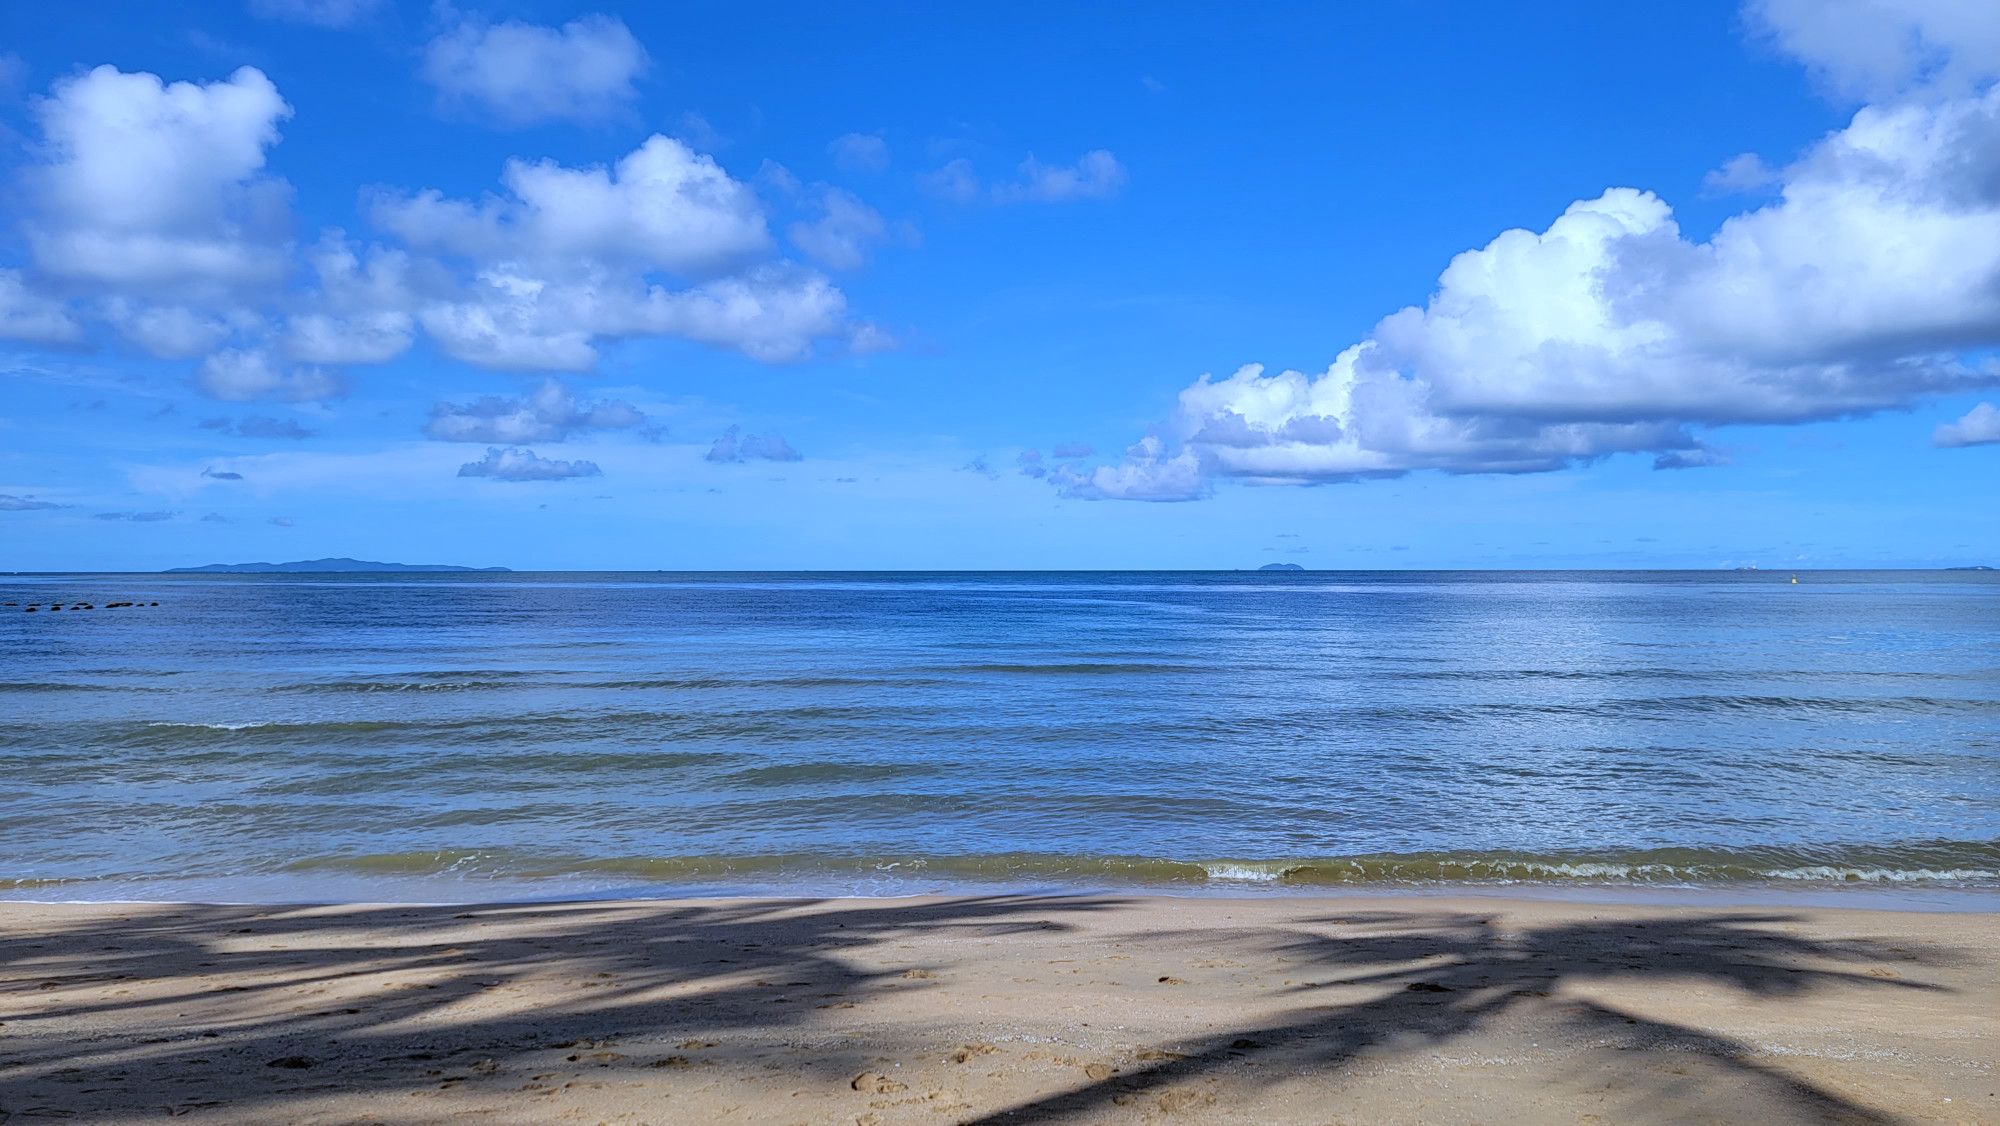
For example, reducing the amount of light:
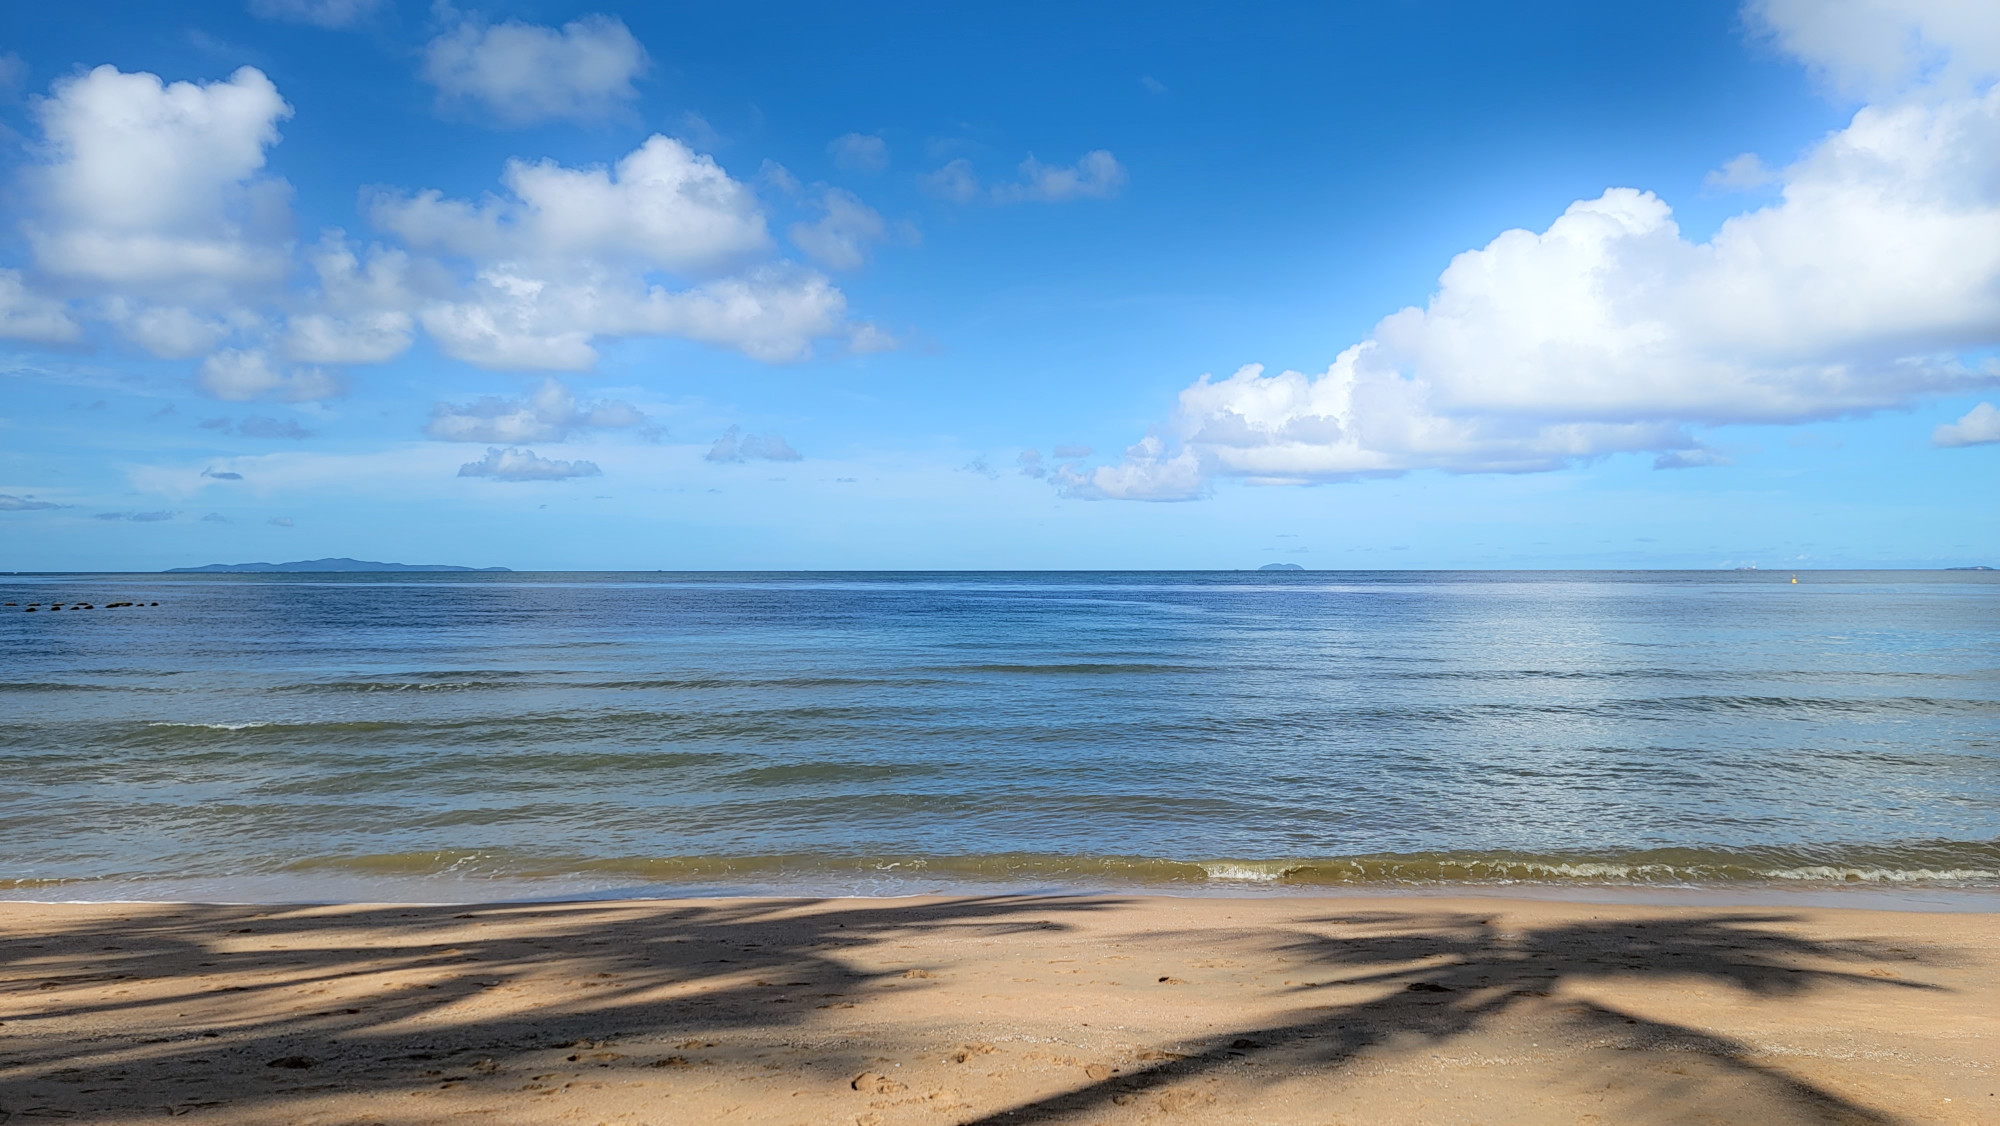
Original Image:
Look how expressive and even menacing the clouds have become:
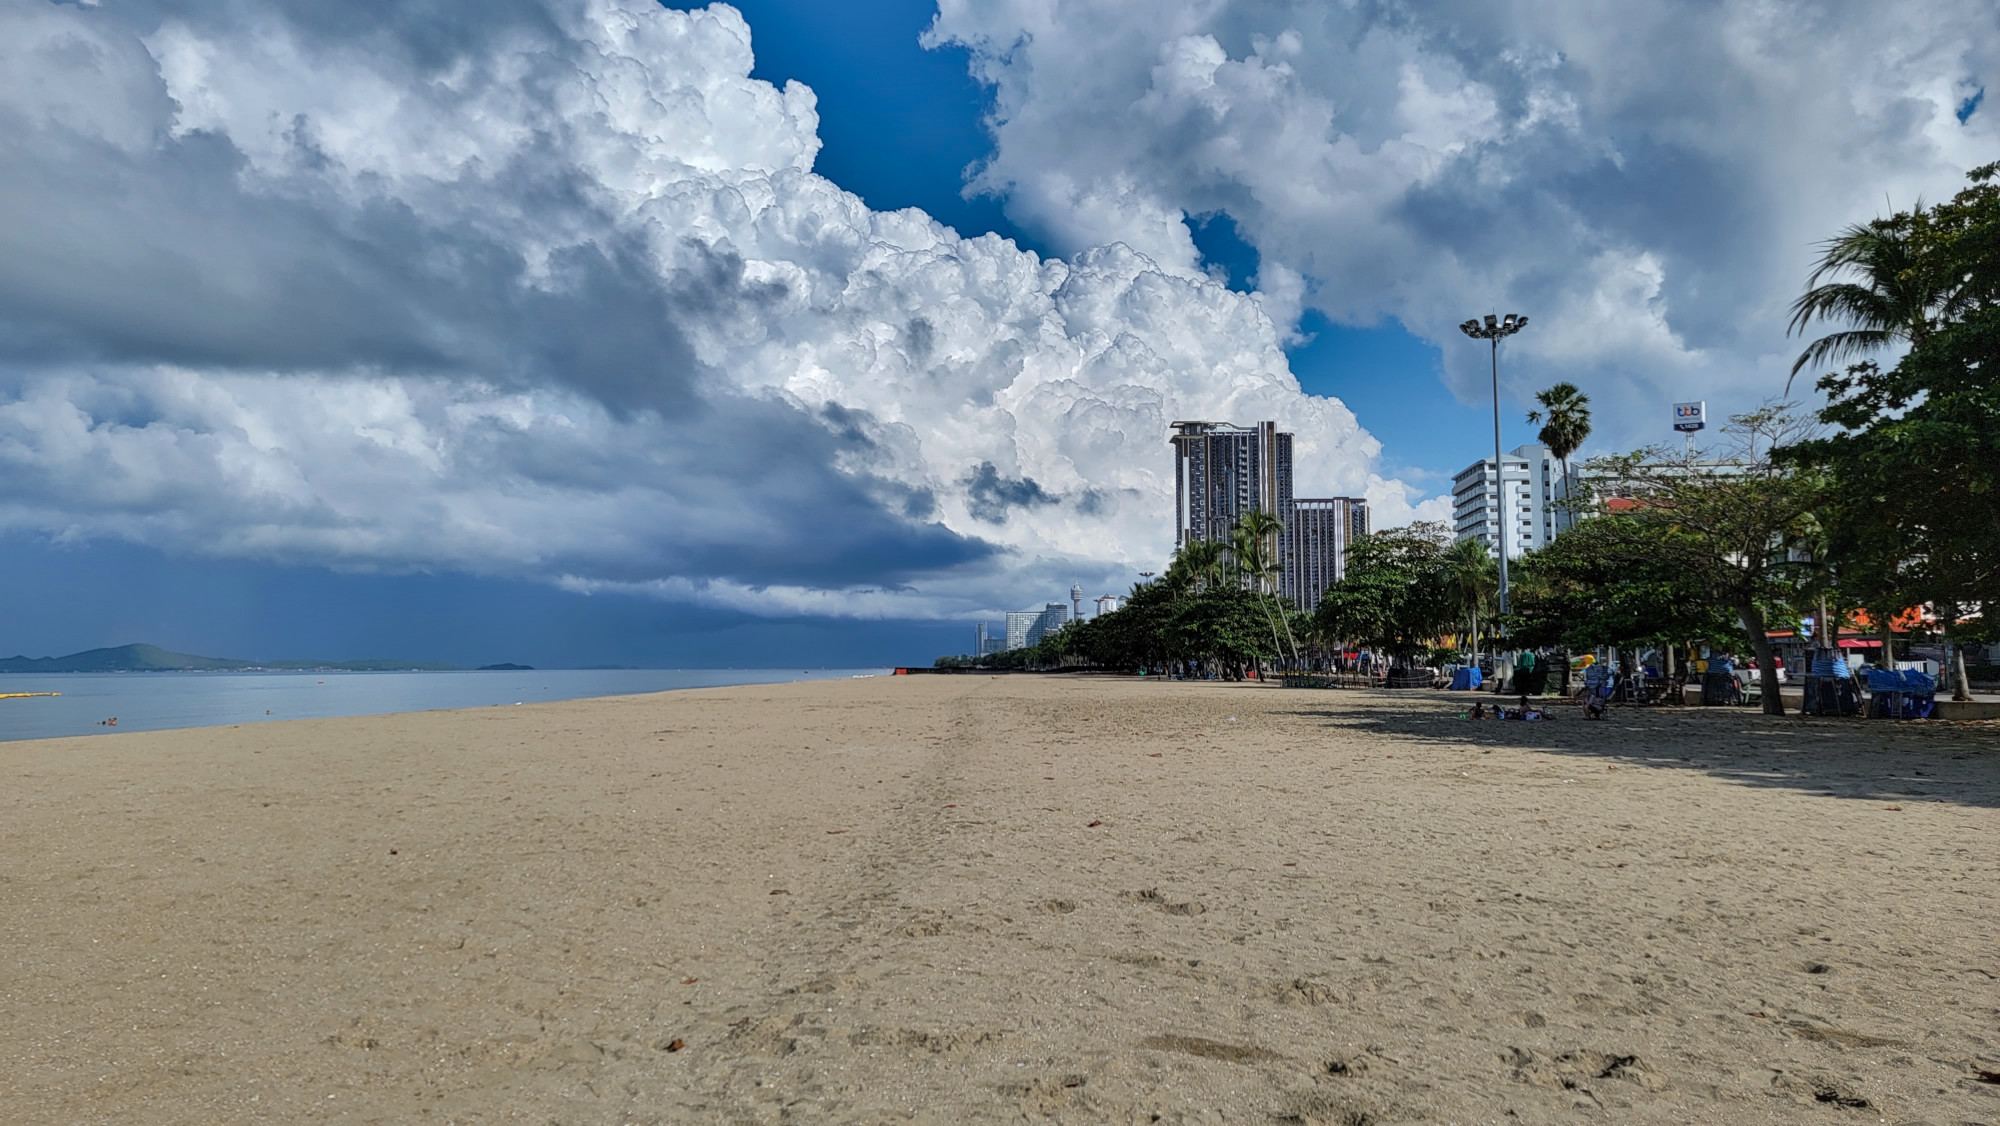
In the following example, the amount of light is added:
Original Image:
And now the clouds have become shining like in a biblical parable:
Experiment with color!
I guess you agree that the simplest manipulations shown above with literally one settings slider can significantly change the impression of a photo. The pictures have become noticeably more spectacular, but at the same time they have not lost their realism.
The GIMP Preferences menu under Color has other settings you can try.
Pay special attention to “Brightness”, “Contrast”, “Exposure”. With them, you can change the impression of the photo.
Related articles:
- What resolution and aspect ratio of photos to choose in the camera settings (79.3%)
- GIMP copies not all layers (SOLVED) (68%)
- Batch image processing in GIMP (65.2%)
- How to convert .webp images to GIMP (65.2%)
- Is HDMI or DisplayPort better for the ultimate picture, sound, HDR, FreeSync, G-Sync and more (59.4%)
- Apache window appears and immediately disappears (SOLVED) (RANDOM - 50%)