
How to install a web server (Apache, PHP, MySQL, phpMyAdmin) on Linux Mint, Ubuntu and Debian
March 16, 2021
If you are a webmaster, or a PHP programmer, or you just need to run a website on your computer, then you can do it using a web server. On Linux, the web server (Apache) and related components (PHP, MySQL, phpMyAdmin) are installed in just a few commands.
This tutorial will show you how to set up a web server for sites on Linux Mint, Ubuntu and Debian.
How to install Apache, PHP, MySQL, phpMyAdmin on Linux Mint, Ubuntu and Debian
We will do most of the operations in the command line - the Linux terminal.
Open a terminal and run the following two commands in it:
sudo apt update
sudo apt install apache2 default-mysql-server php phpmyadmin
Answer No to the configuration prompt with dbconfig-common:
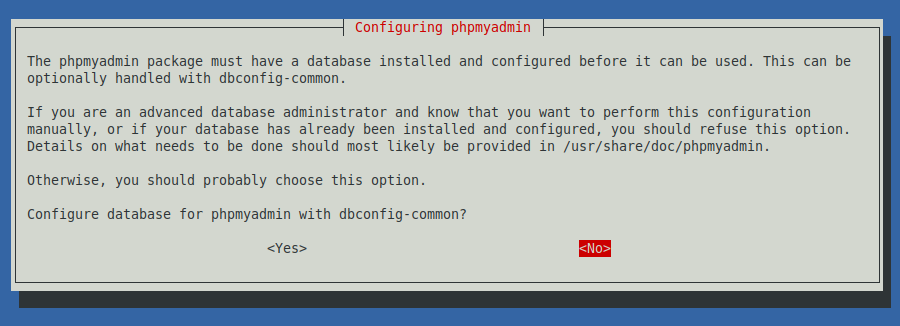
Use the Tab key to move between items and Enter to continue.
Select “apache2”:

Use the Space key to select items, use the Tab key to move between items, and press Enter to continue.
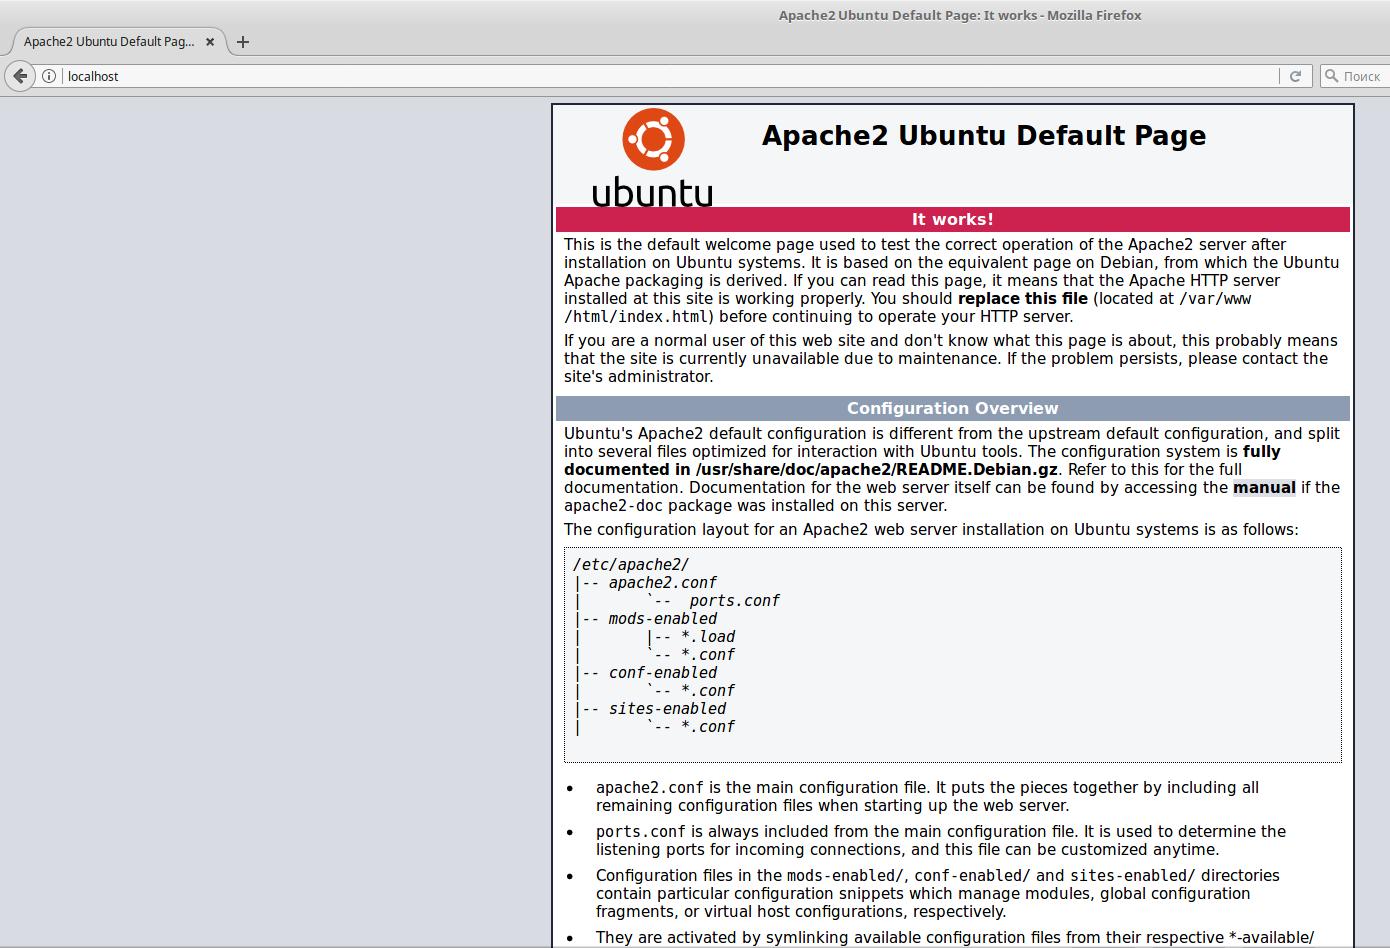
That's all! The web server (a bunch of Apache, PHP, MySQL, phpMyAdmin) is installed and ready to work. Open the link http://localhost/ in your browser
You will see the standard Apache page:
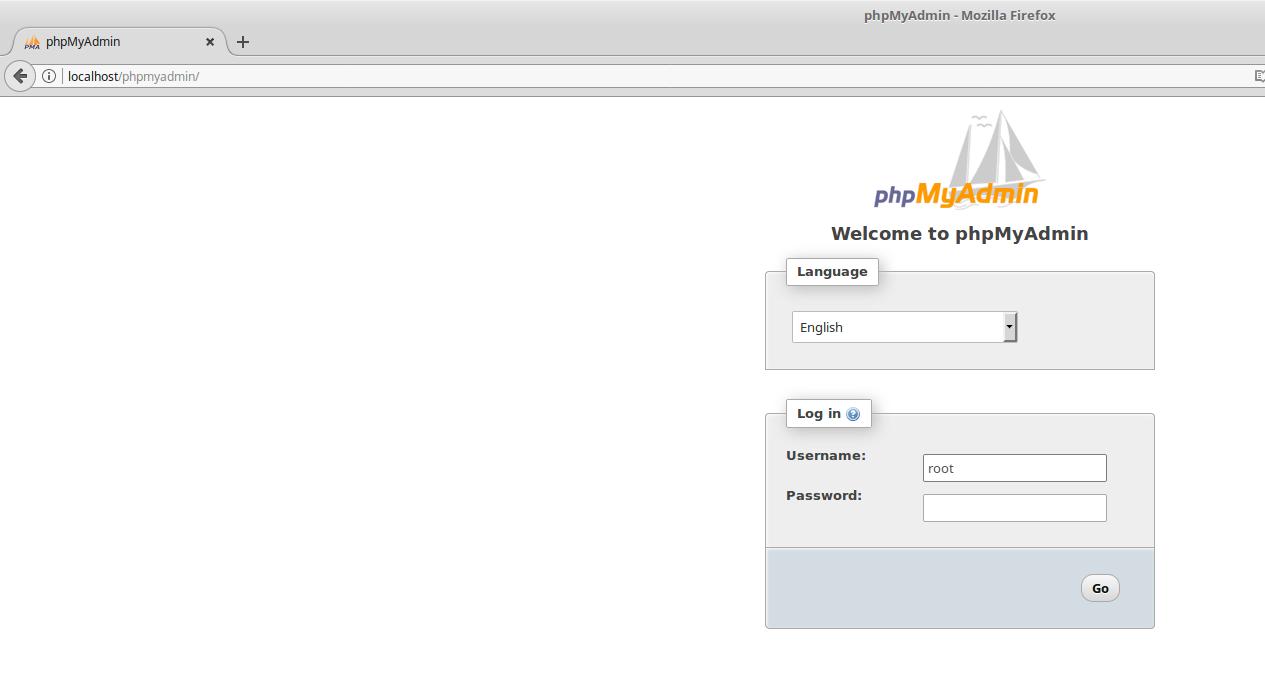
phpMyAdmin is available at http://localhost/phpmyadmin/
To start the web server every time you turn on the computer, run the command:
sudo systemctl enable apache2
sudo systemctl enable mysql
How to change URL path of phpMyAdmin. How to enable and disable phpMyAdmin
If during the installation of phpMyAdmin you chose not to configure it for use with the Apache web server, use the command to enable phpMyAdmin:
sudo ln -s /etc/phpmyadmin/apache.conf /etc/apache2/conf-enabled/
Restart the web server for the changes to take effect:
sudo systemctl restart apache2
To disable phpMyAdmin use the command:
sudo rm /etc/apache2/conf-enabled/phpmyadmin.conf
Restart the web server for the changes to take effect:
sudo systemctl restart apache2
There is an important line in the /etc/phpmyadmin/apache.conf file:
Alias /phpmyadmin /usr/share/phpmyadmin
Its essence is that the URL /phpmyadmin (for example, http://localhost/phpmyadmin) begins to correspond to the /usr/share/phpmyadmin folder. That is, the phpMyAdmin files (scripts) are physically located in /usr/share/phpmyadmin, and not in the web server directory (for example, /var/www/html/).
Many automatic scanners of “hidden” files and folders of a web server and sites check the “phpmyadmin”, “pma” and other similar directories. You can hide your phpMyAdmin nicely by changing the Alias. For instance:
Alias /lkjgler94345 /usr/share/phpmyadmin
phpMyAdmin will now be available at http://localhost/lkjgler94345 - not easy to find.
phpMyAdmin setup
By default phpMyAdmin does not allow login without password. If you have not set a password for the MySQL DBMS, then you have two options to choose from:
- set password
- make changes to phpMyAdmin setting to allow passwordless login
It is recommended to set a password for the database. To change the password, you can use the script:
sudo mysql_secure_installation
If you want to allow logging into phpMyAdmin without a password, then open the file
sudo gedit /etc/phpmyadmin/config.inc.php
Find the second (there are two) line
// $cfg['Servers'][$i]['AllowNoPassword'] = TRUE;
and uncomment it (remove the two slashes from the beginning of the line) to get:
$cfg['Servers'][$i]['AllowNoPassword'] = TRUE;
Most likely, when connecting, you will receive a surprise in the form of the error “#1698 - Access denied for user 'root'@'localhost'”. Step-by-step actions for its solution in this manual.

Where are the sites on the Apache web server?
By default, the root folder for web documents is /var/www/html. In /var/www you can create your own virtual hosts.
The /var/www/html folder and all files inside it belong to the root user.
For you to be able to modify, add, delete files in this folder, you need to use sudo. For example, with the following command, you will open a file manager to manage the contents of a folder.
sudo nemo /var/www/html
All other programs that make changes to /var/www/html must also be run with sudo.
On a local server, for ease of use, you can make yourself the owner of this folder:
sudo chown -R $USER:$USER /var/www/html
Now you and the programs launched on your behalf do not need superuser privileges to work with the contents of this directory:
nemo /var/www/html
Apache index files
If the user requests from the web server not a file, but a directory, then the server looks for files index.html, index.php, index.htm, etc. in it. If these files are in this directory, then their contents are shown. These files are called index files. If there are two or more such files in a directory at once, then one of them is shown in accordance with the set priority.
You can see which files are index files for your server and in what order their priority is arranged in the file
sudo gedit /etc/apache2/mods-enabled/dir.conf
There you will see something like:
<IfModule mod_dir.c>
    DirectoryIndex index.html index.cgi index.pl index.php index.xhtml index.htm
</IfModule>
Typically, users want to move the PHP index file (index.php) to the first position after DirectoryIndex, so that something looks like this:
<IfModule mod_dir.c>
    DirectoryIndex index.php index.html index.cgi index.pl index.xhtml index.htm
</IfModule>
After making changes, save and close the file, restart the web server.
Conclusion
This tutorial showed you how to install Apache web server on your Linux Mint machine. In terms of its functionality, this server does not differ from the capabilities of hosting. You can test your sites on it, use it when learning PHP, install WordPress, etc. Moreover, this server can be made available to the local or even global network.
Related articles:
- Error “No such file or directory: AH02454: FCGI: attempt to connect to Unix domain socket /run/php/php8.1-fpm.sock (*:80) failed” (SOLVED) (91.6%)
- Error “Cannot load modules/libphp7.so” (SOLVED) (88.3%)
- How to install Python as a CGI module in Apache on Linux (82.8%)
- How to set up Python as a CGI module in Apache on Debian (Ubuntu, Linux Mint) (82.8%)
- phpMyAdmin error “Error: Undefined constant "SODIUM_CRYPTO_SECRETBOX_KEYBYTES"” (SOLVED) (74.5%)
- How to install Kali Linux with full disk encryption (RANDOM - 50%)