Tag: Apache

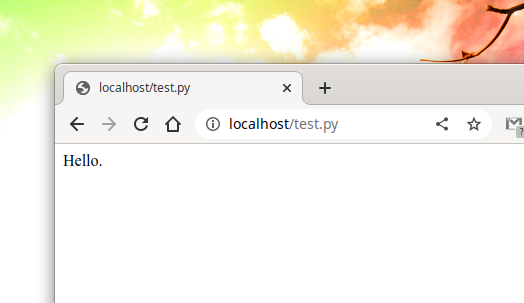
How to get data from a web page using GET and POST methods in a Python script on Windows
Posted by Alex On May 21, 2023

How to get data from a web page using GET and POST methods in a Python script
Posted by Alex On May 21, 2023
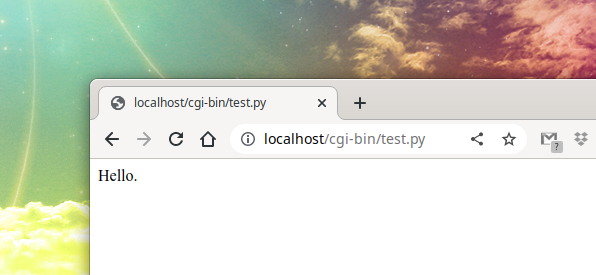
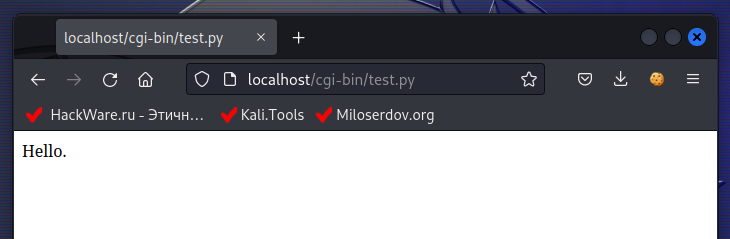
How to install Python as a CGI module in Apache on Linux
Posted by Alex On May 21, 2023
How to set up Python as a CGI module in Apache on Arch Linux (Manjaro, BlackArch)
Posted by Alex On May 21, 2023
How to set up Python as a CGI module in Apache on Debian (Ubuntu, Linux Mint)
Posted by Alex On May 21, 2023

Error “No such file or directory: AH02454: FCGI: attempt to connect to Unix domain socket /run/php/php8.1-fpm.sock (*:80) failed” (SOLVED)
Posted by Alex On January 29, 2023

phpMyAdmin error “Error: Undefined constant “SODIUM_CRYPTO_SECRETBOX_KEYBYTES”” (SOLVED)
Posted by Alex On October 20, 2022
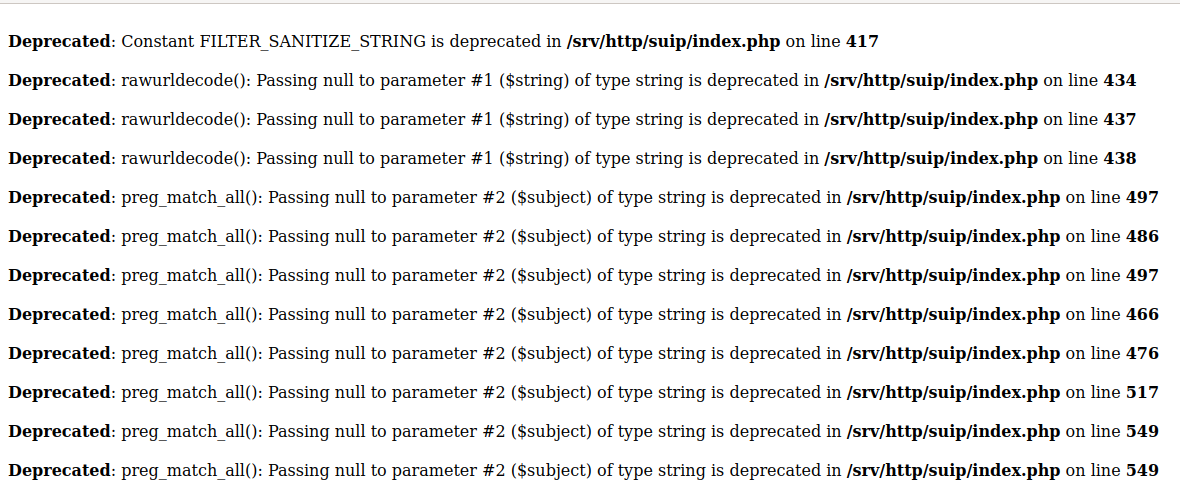
How to show all errors in PHP 8
Posted by Alex On July 6, 2022

Apache window appears and immediately disappears (SOLVED)
Posted by Alex On July 3, 2022
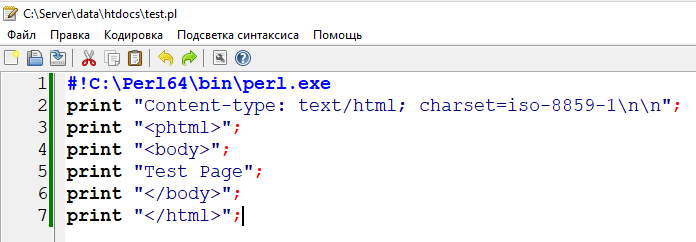
Configuring Apache Web Server to Run Perl Programs on Windows
Posted by Alex On May 25, 2021