Tag: Debian
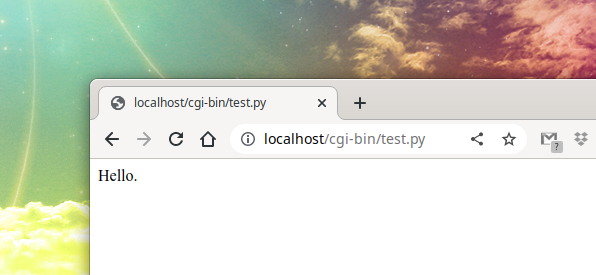
How to install Python as a CGI module in Apache on Linux
Posted by Alex On May 21, 2023
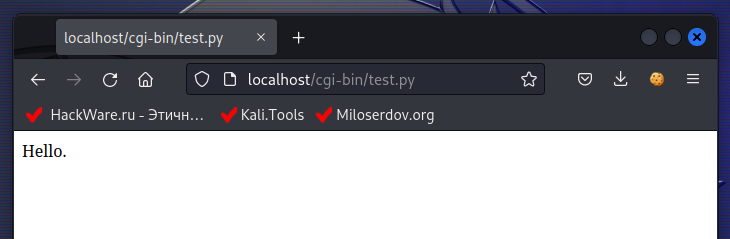
How to set up Python as a CGI module in Apache on Debian (Ubuntu, Linux Mint)
Posted by Alex On May 21, 2023

How to increase the size of the partition and file system after increasing the physical size of the disk
Posted by Alex On March 23, 2023
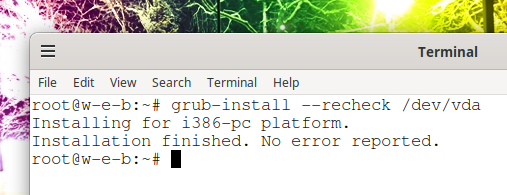
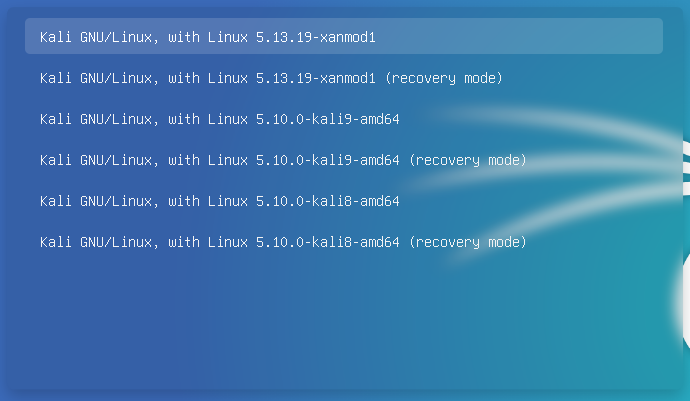
How to update the GRUB bootloader on Debian and derivative distributions (Kali Linux, Ubuntu, Linux Mint)
Posted by Alex On February 17, 2023

Error “No such file or directory: AH02454: FCGI: attempt to connect to Unix domain socket /run/php/php8.1-fpm.sock (*:80) failed” (SOLVED)
Posted by Alex On January 29, 2023

How to install the latest version of Tor on Ubuntu
Posted by Alex On March 15, 2022

Do services need to be restarted when updating packages
Posted by Alex On January 24, 2022
How to Install the Latest Linux Kernels on Debian and Debian Based Distributions
Posted by Alex On September 23, 2021

How to install a web server (Apache, PHP, MySQL, phpMyAdmin) on Linux Mint, Ubuntu and Debian
Posted by Alex On March 16, 2021

Chromium will no longer sync passwords - what should Linux users do?
Posted by Alex On March 4, 2021